Connection data required
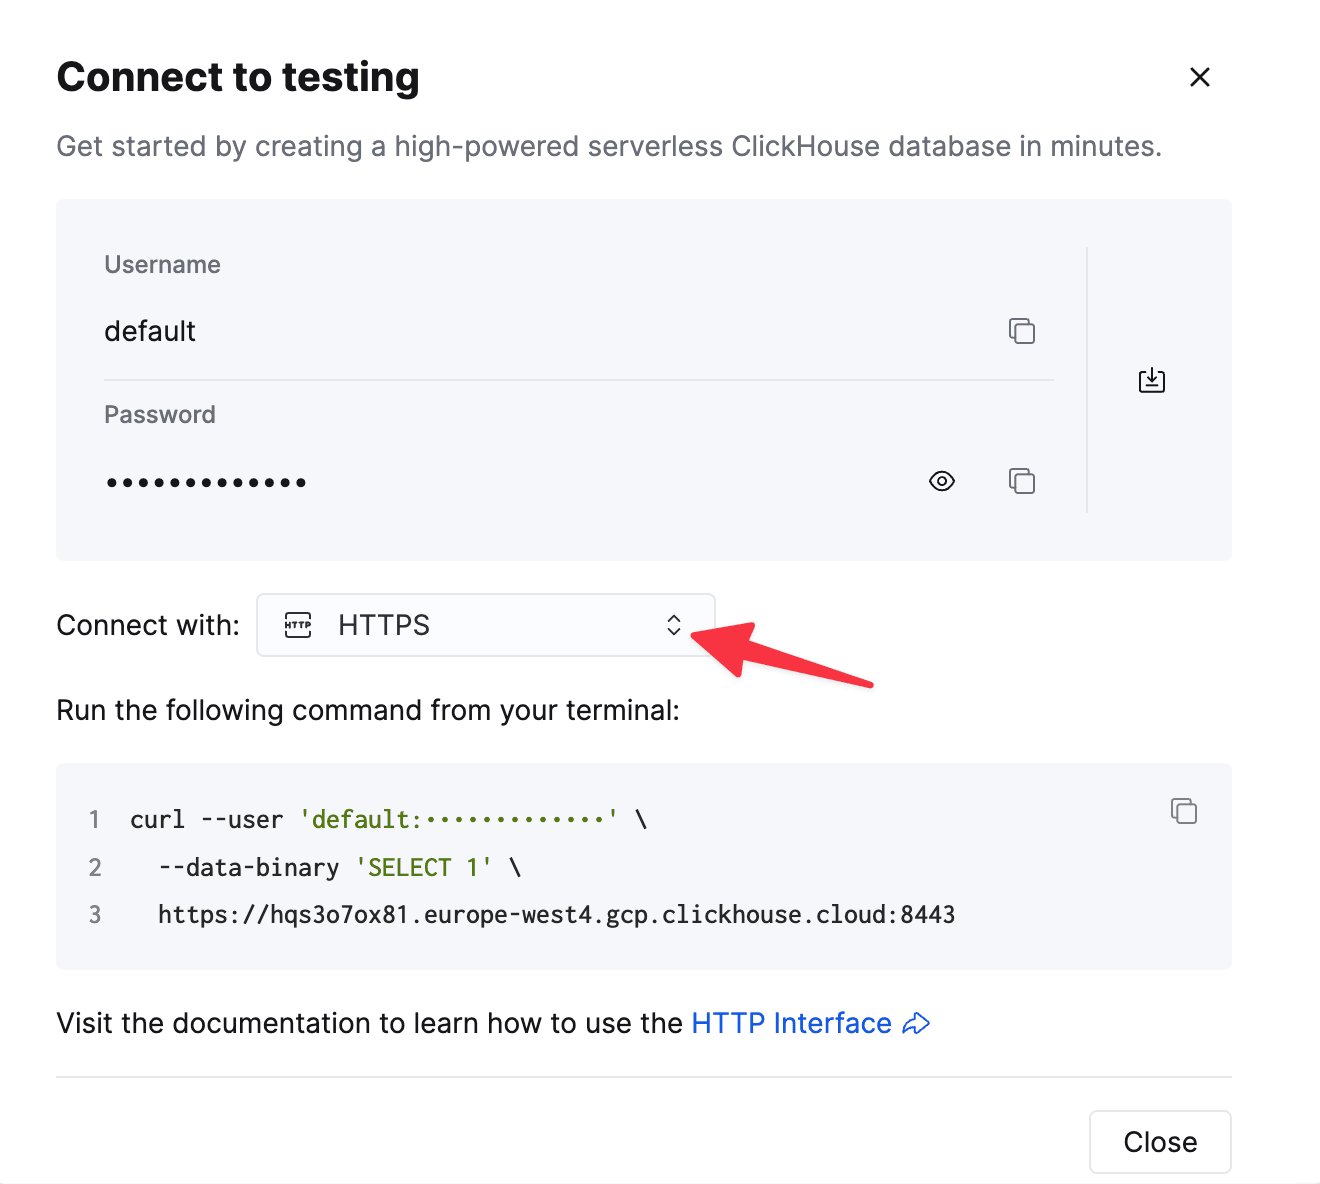
When setting up your data connection, you’ll need to know:- Data connection: Hostname, Port
- Database Credentials: Username, Password
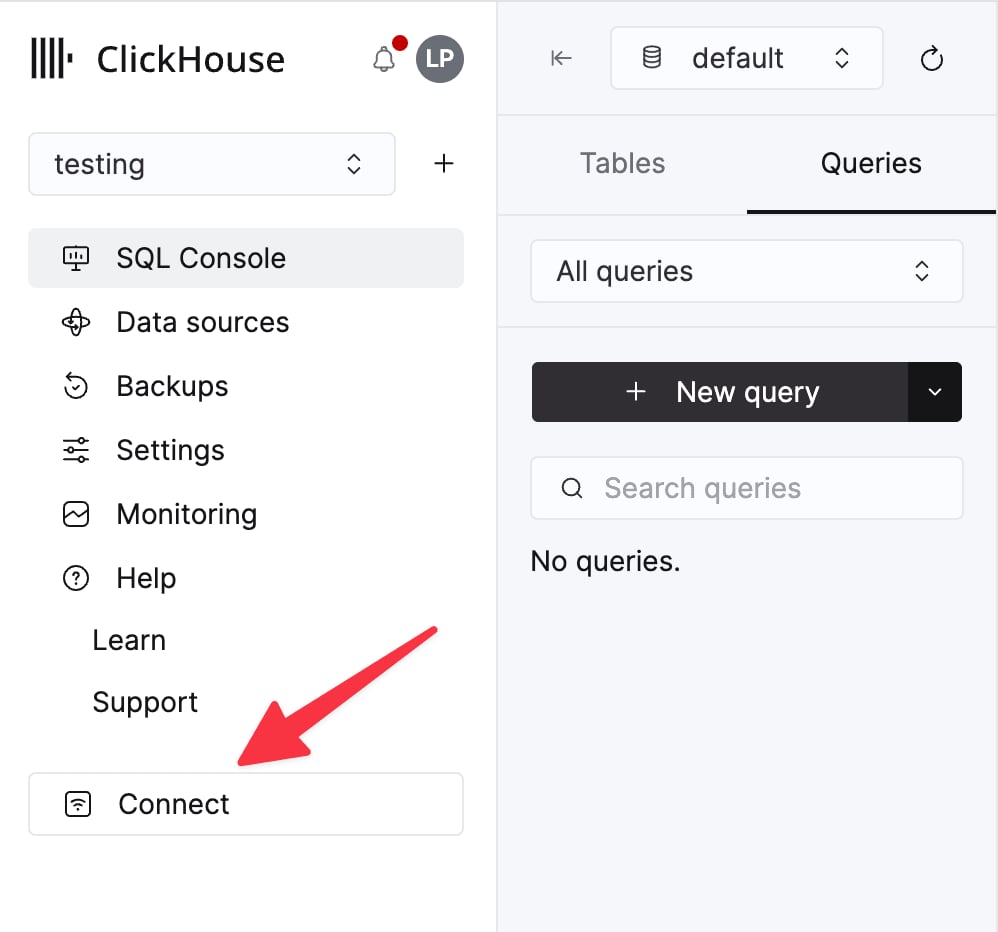
The details for your ClickHouse Cloud service are available in the ClickHouse Cloud console.
Select a service and click Connect:
curl command.
Creating the data connection to ClickHouse
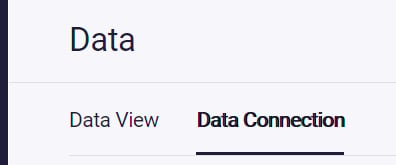
- Select Data in the sidebar, and select the Data Connection tab (or, navigate to this link: https://app.astrato.io/data/sources)
- Click on the New Data Connection button in the top right side of the screen.
- Select ClickHouse.
- Complete the required fields in the connection dialogue box
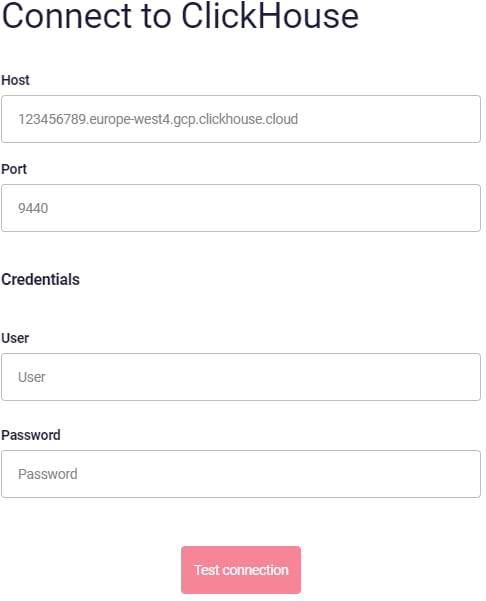
- Click Test Connection. If the connection is successful, give the data connection a name and click Next.
- Set the user access to the data connection and click connect.
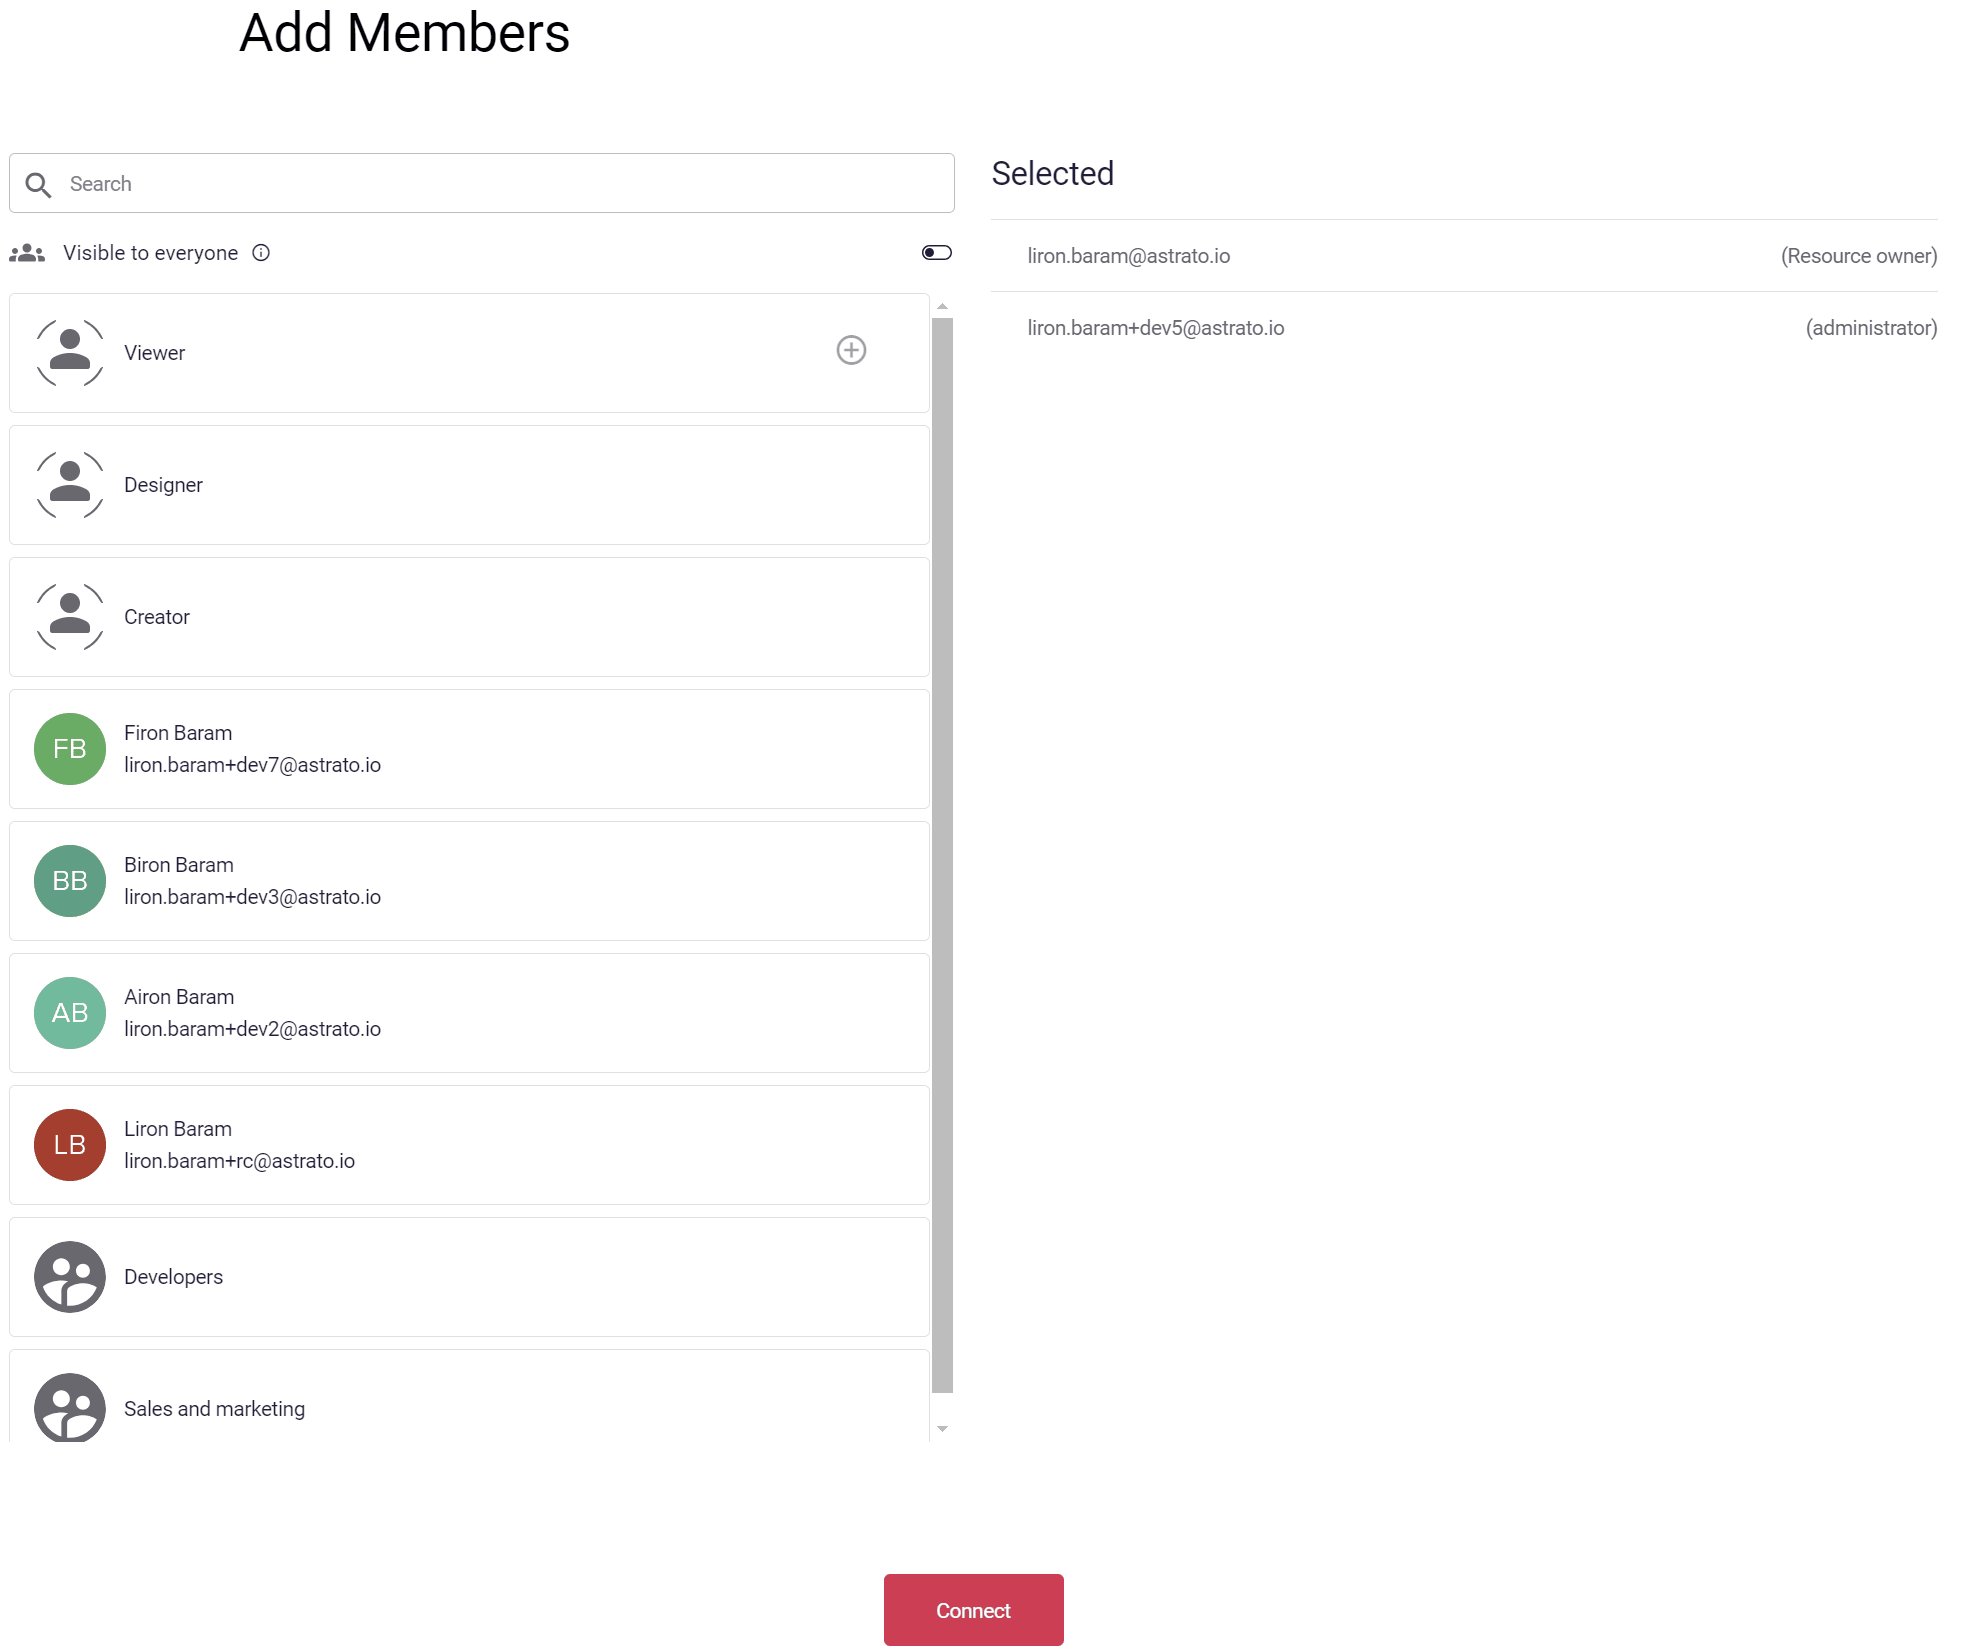
- A connection is created and a dataview is created.
if a duplicate is created, a timestamp is added to the data source name.
Creating a semantic model / data view
In our Data View editor, you will see all of your Tables and Schemas in ClickHouse, select some to get started.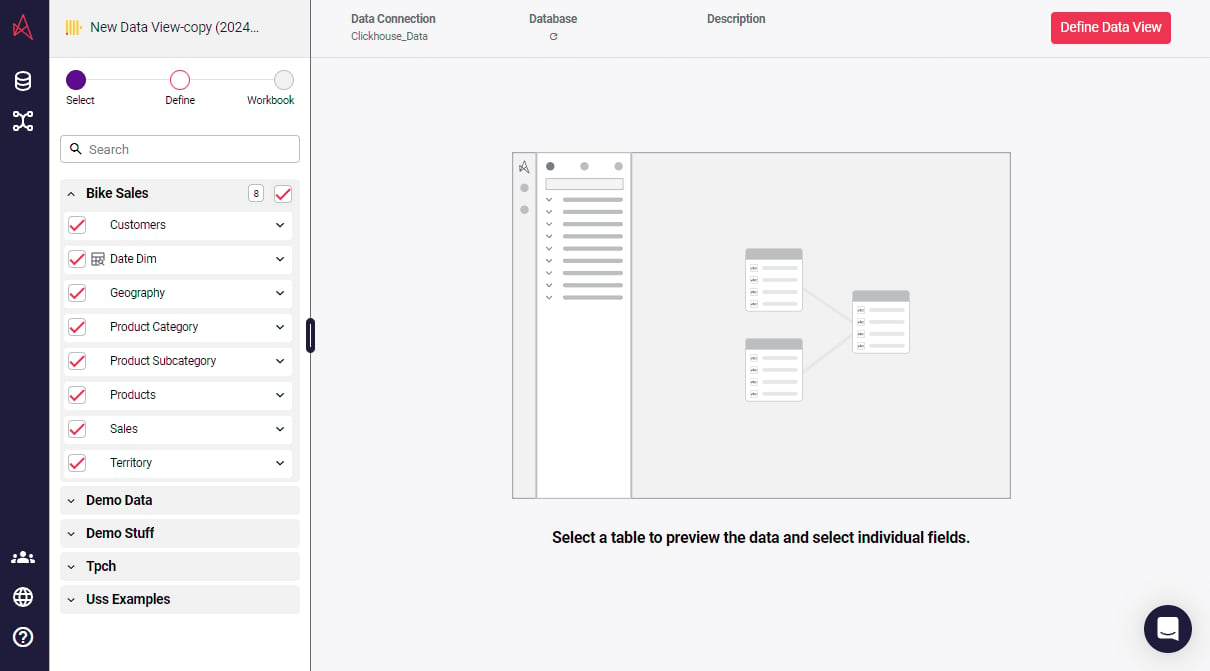
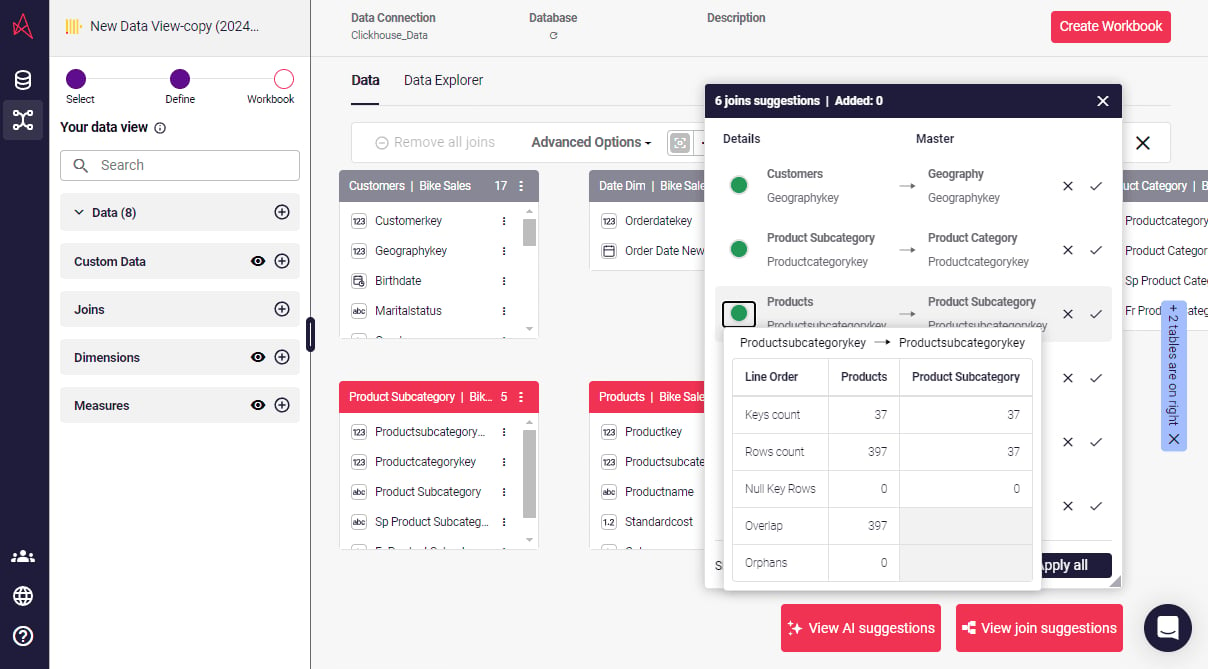
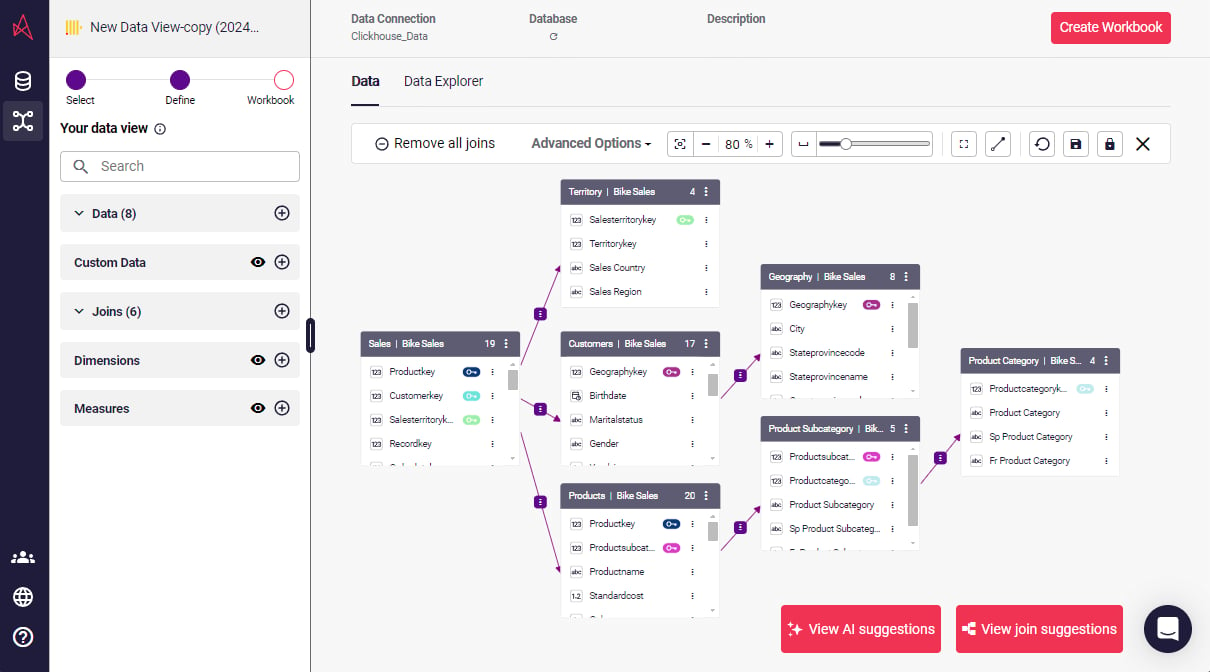
Creating a dashboard
In just a few steps, you can build your first chart in Astrato.- Open visuals panel
- Select a visual (lets start with Column Bar Chart)
- Add dimensions
- Add measures
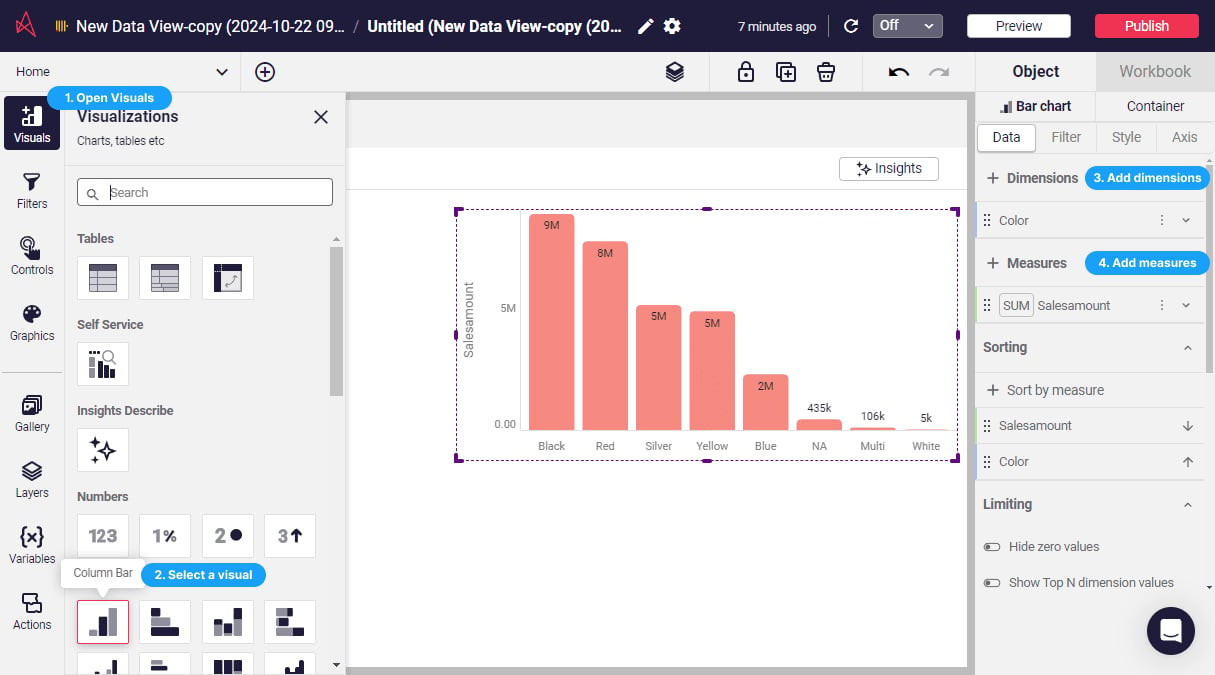
View generated SQL supporting each visualization
Transparency and accuracy are at the heart of Astrato. We ensure that every query generated is visible, letting you keep full control. All compute happens directly in ClickHouse, taking advantage of its speed while maintaining robust security and governance.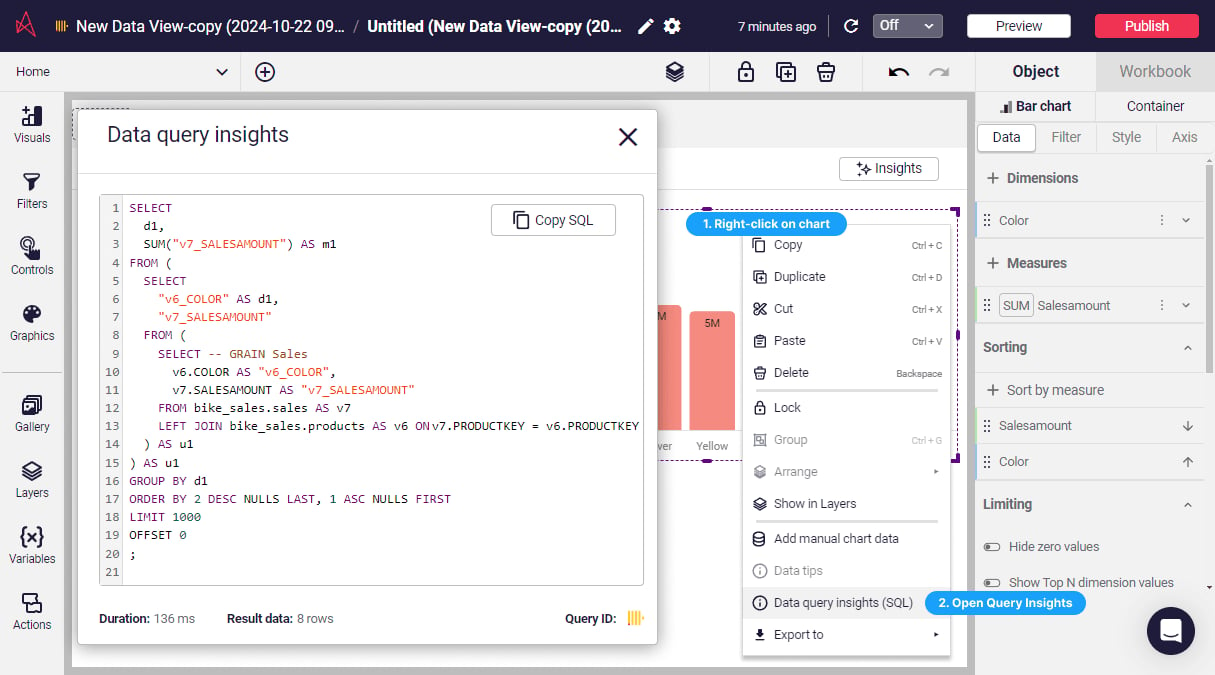
Example completed dashboard
A beautiful complete dashboard or data app isn’t far away now. To see more of what we’ve built, head to our demo gallery on our website. https://astrato.io/gallery