

1
Gather your connection details
To connect to ClickHouse with HTTP(S) you need this information: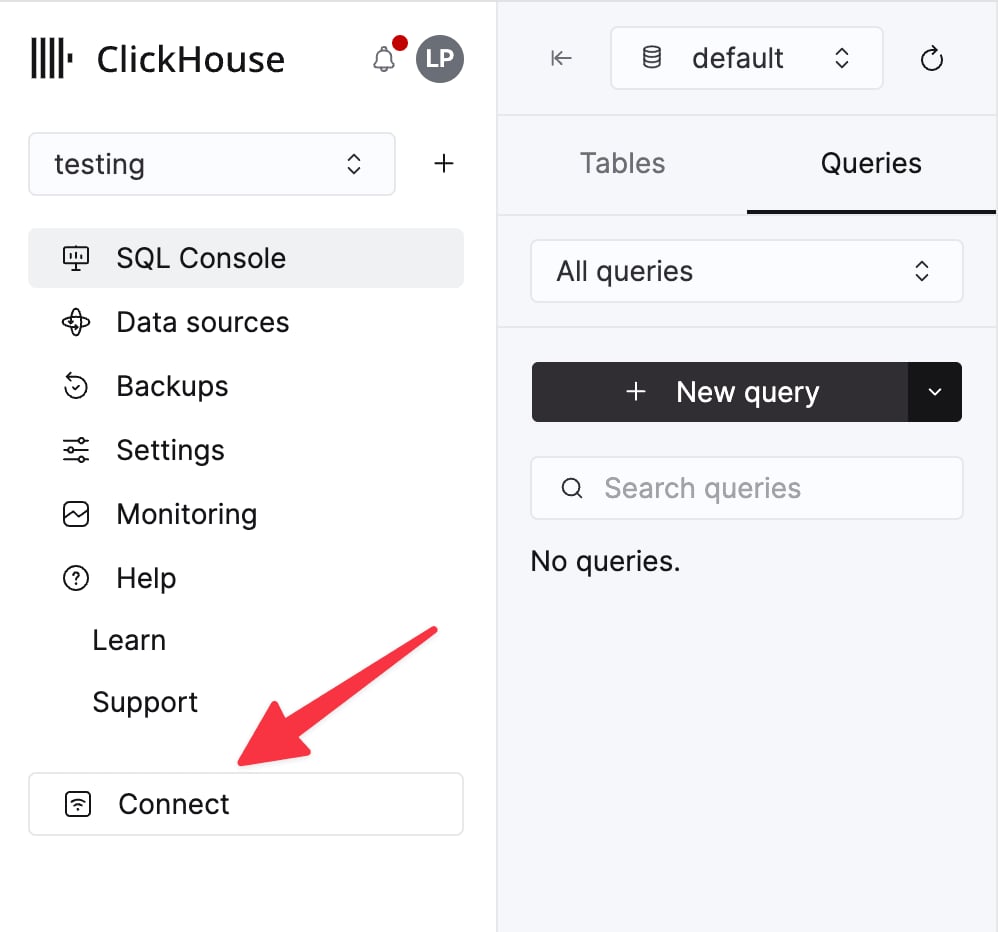
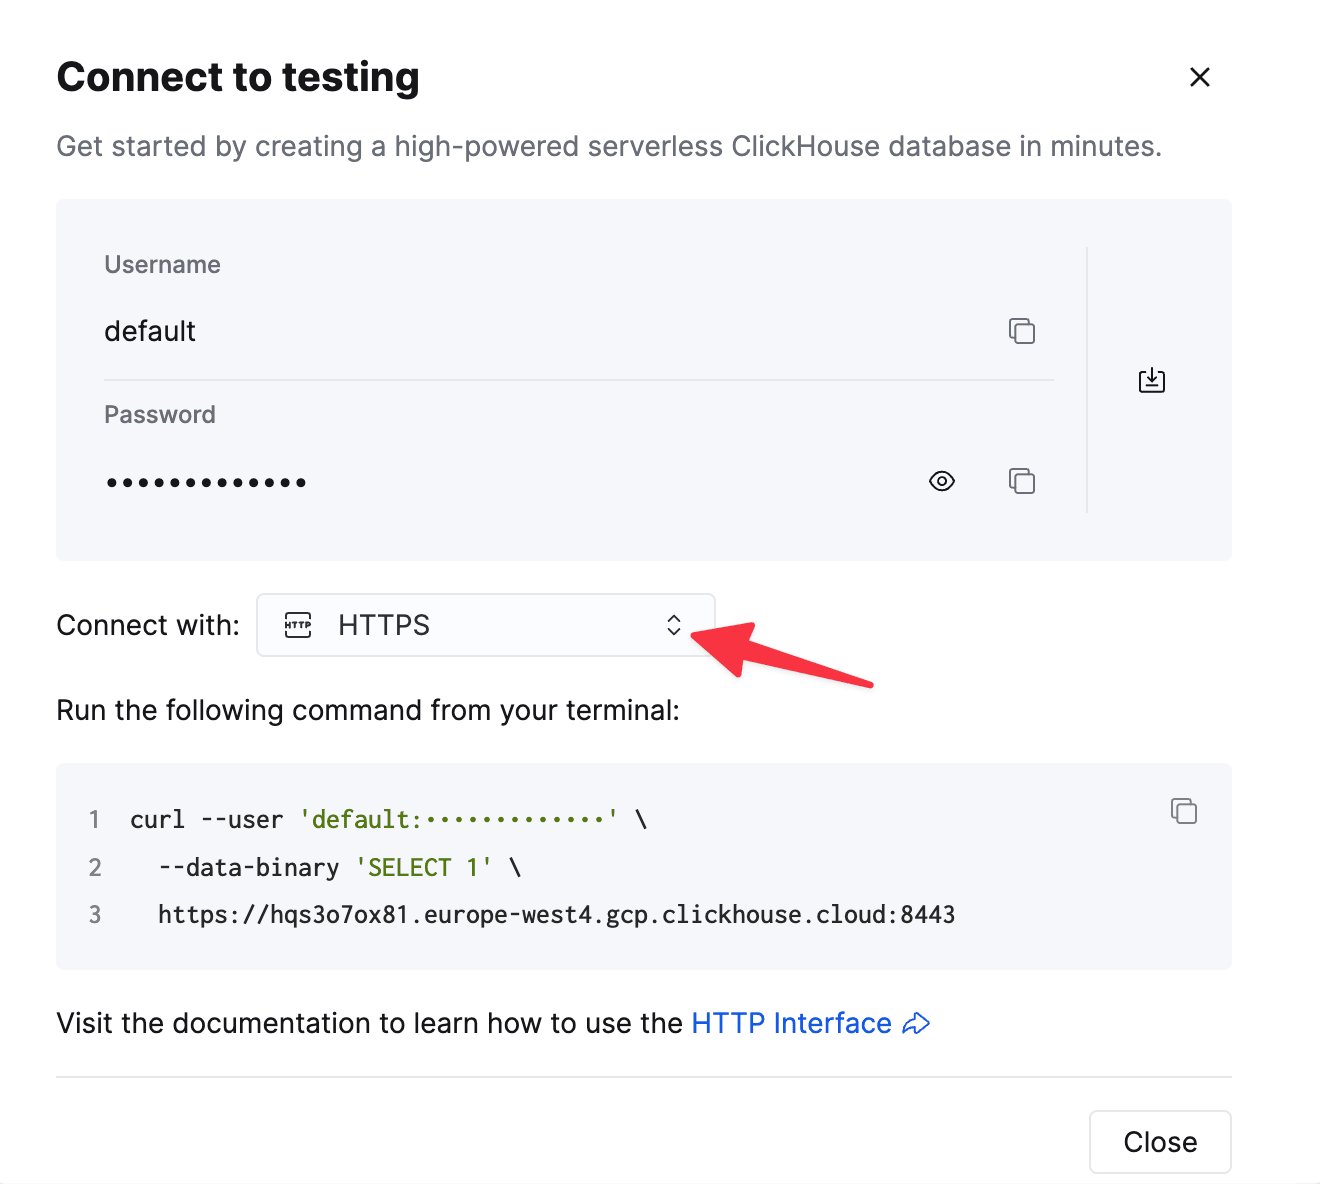
The details for your ClickHouse Cloud service are available in the ClickHouse Cloud console.
Select a service and click Connect:
curl command.2
Create a ClickHouse connection in ThoughtSpot
- Navigate to Data workspace > Connections.
- Click + Create connection, select the ClickHouse tile, then click Next.
- Enter a name for your connection, an optional description, and the ClickHouse connection details you gathered in the previous step, then click Next. For details on each attribute, see the ClickHouse connection reference in the ThoughtSpot documentation.
-
(Optional) To configure a query-level timeout, open the Advanced Config menu. For Key, enter
queryTimeoutSeconds. For Value, enter the timeout in seconds. A maximum of 10 minutes is recommended. -
(Optional) To provide additional key-value pairs, open the Advanced Config menu and enter a Key and Value. Click the plus sign (+) to add more pairs.
Any key-value pairs that you enter must be defined in your ClickHouse data source. Key-value pairs are case-sensitive.
- Select the tables and columns you want to use, then click Create connection. A message confirms the number of tables and columns added.