在 Open WebUI 中使用 ClickHouse MCP 服务器
本指南介绍如何将 Open WebUI 与 ClickHouse MCP 服务器集成, 并将其连接到 ClickHouse 示例数据集。
配置 ClickHouse MCP 服务器
要配置 ClickHouse MCP 服务器,我们需要将 MCP Server 暴露为一组 OpenAPI 端点。 首先,先设置环境变量,以便连接到 ClickHouse SQL Playground:
然后我们可以运行 mcpo 来创建 OpenAPI 端点:
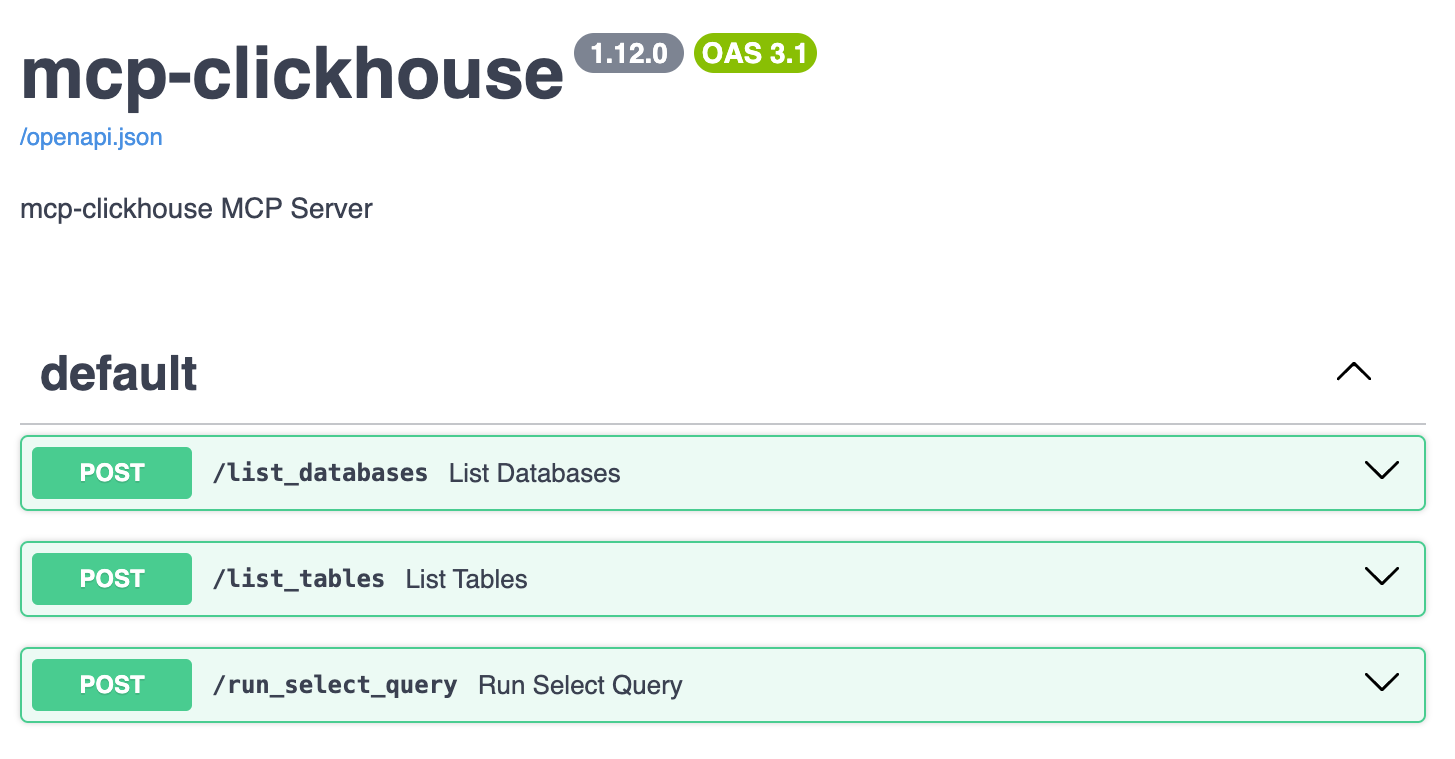
你可以通过访问 http://localhost:8000/docs 查看已创建的端点列表。
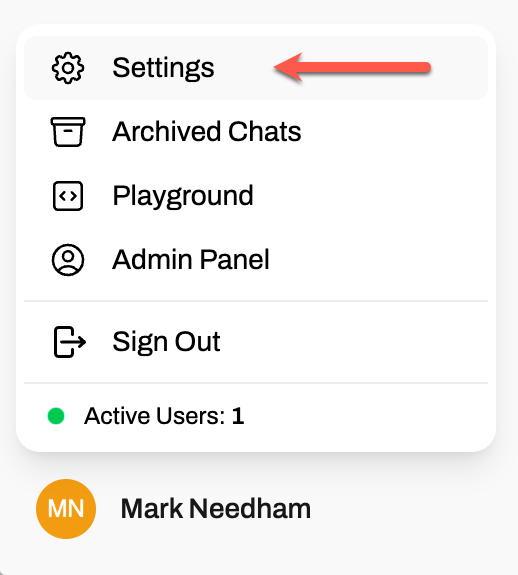
要在 Open WebUI 中使用这些端点,我们需要先进入设置:
点击 Tools:
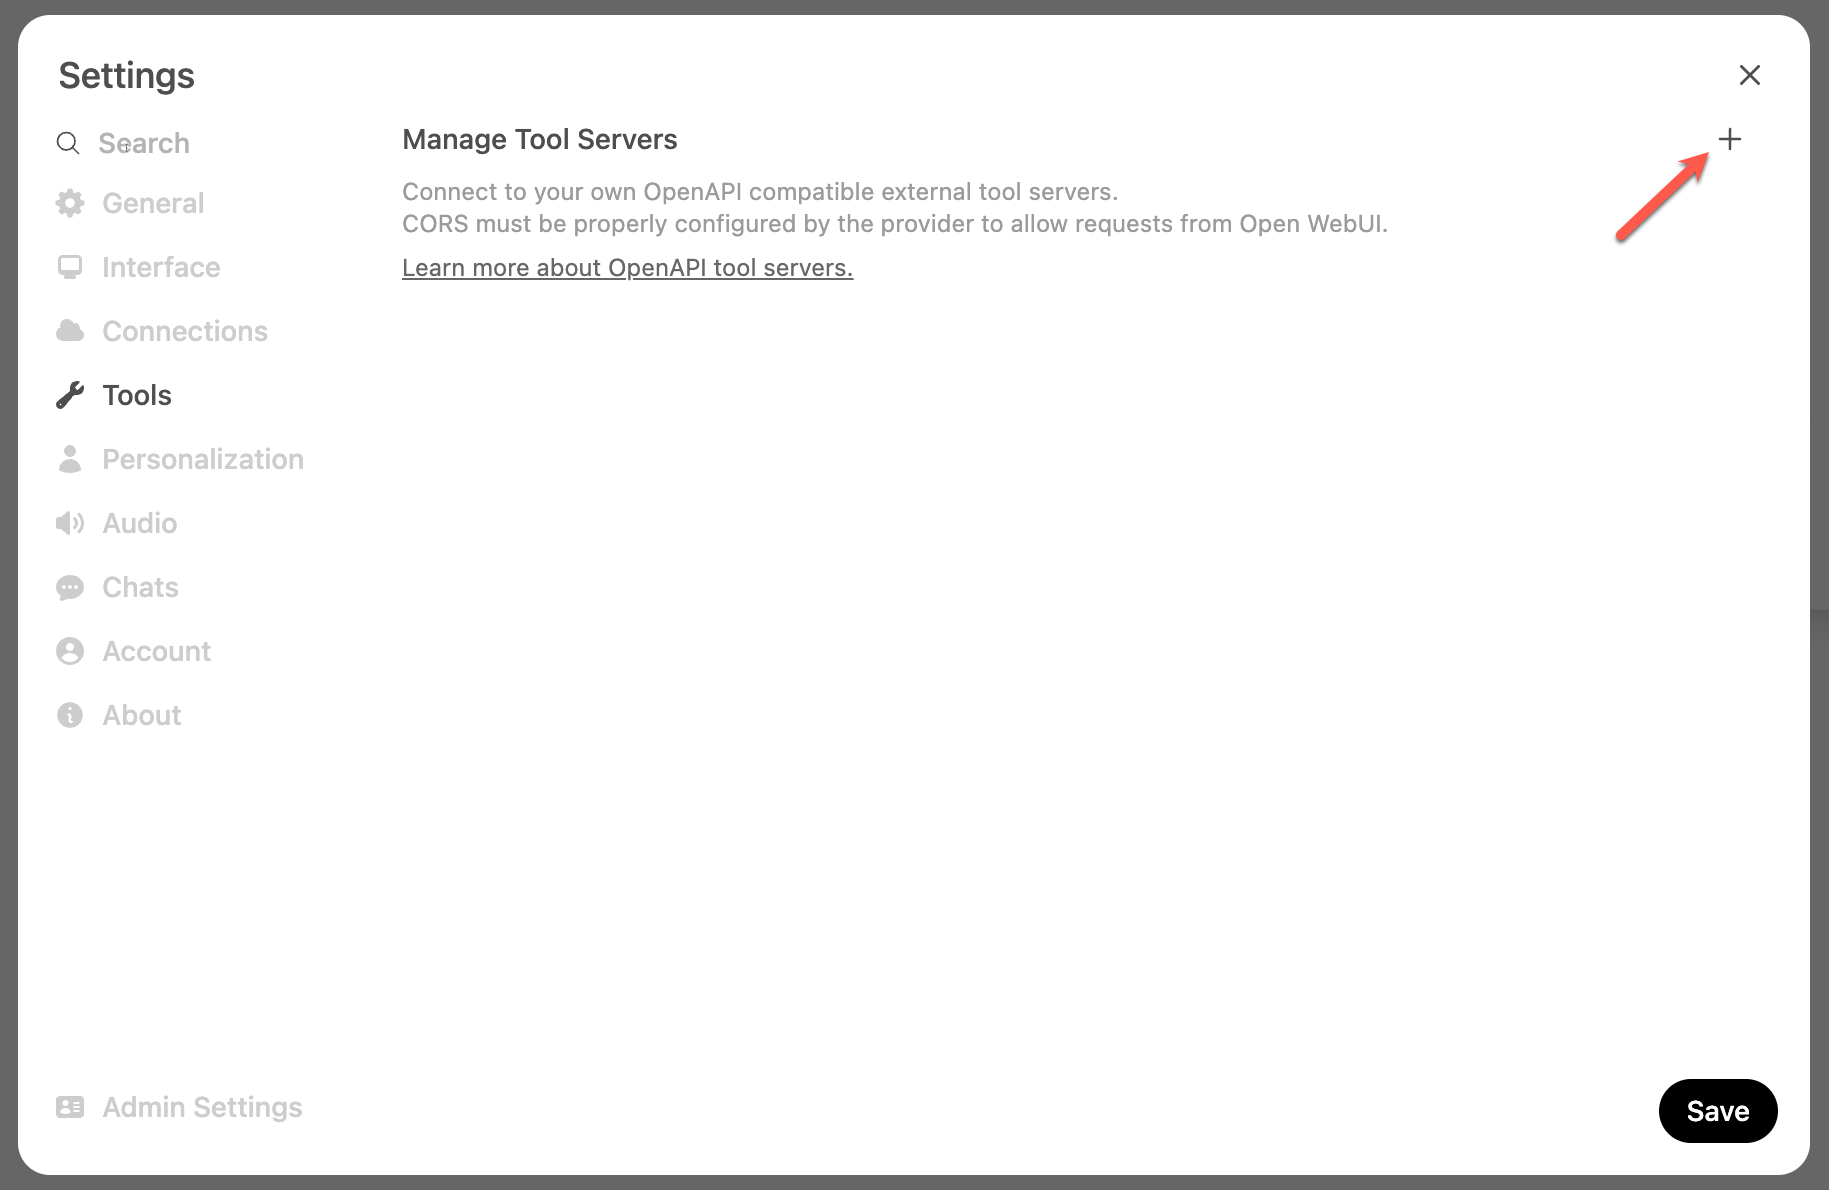
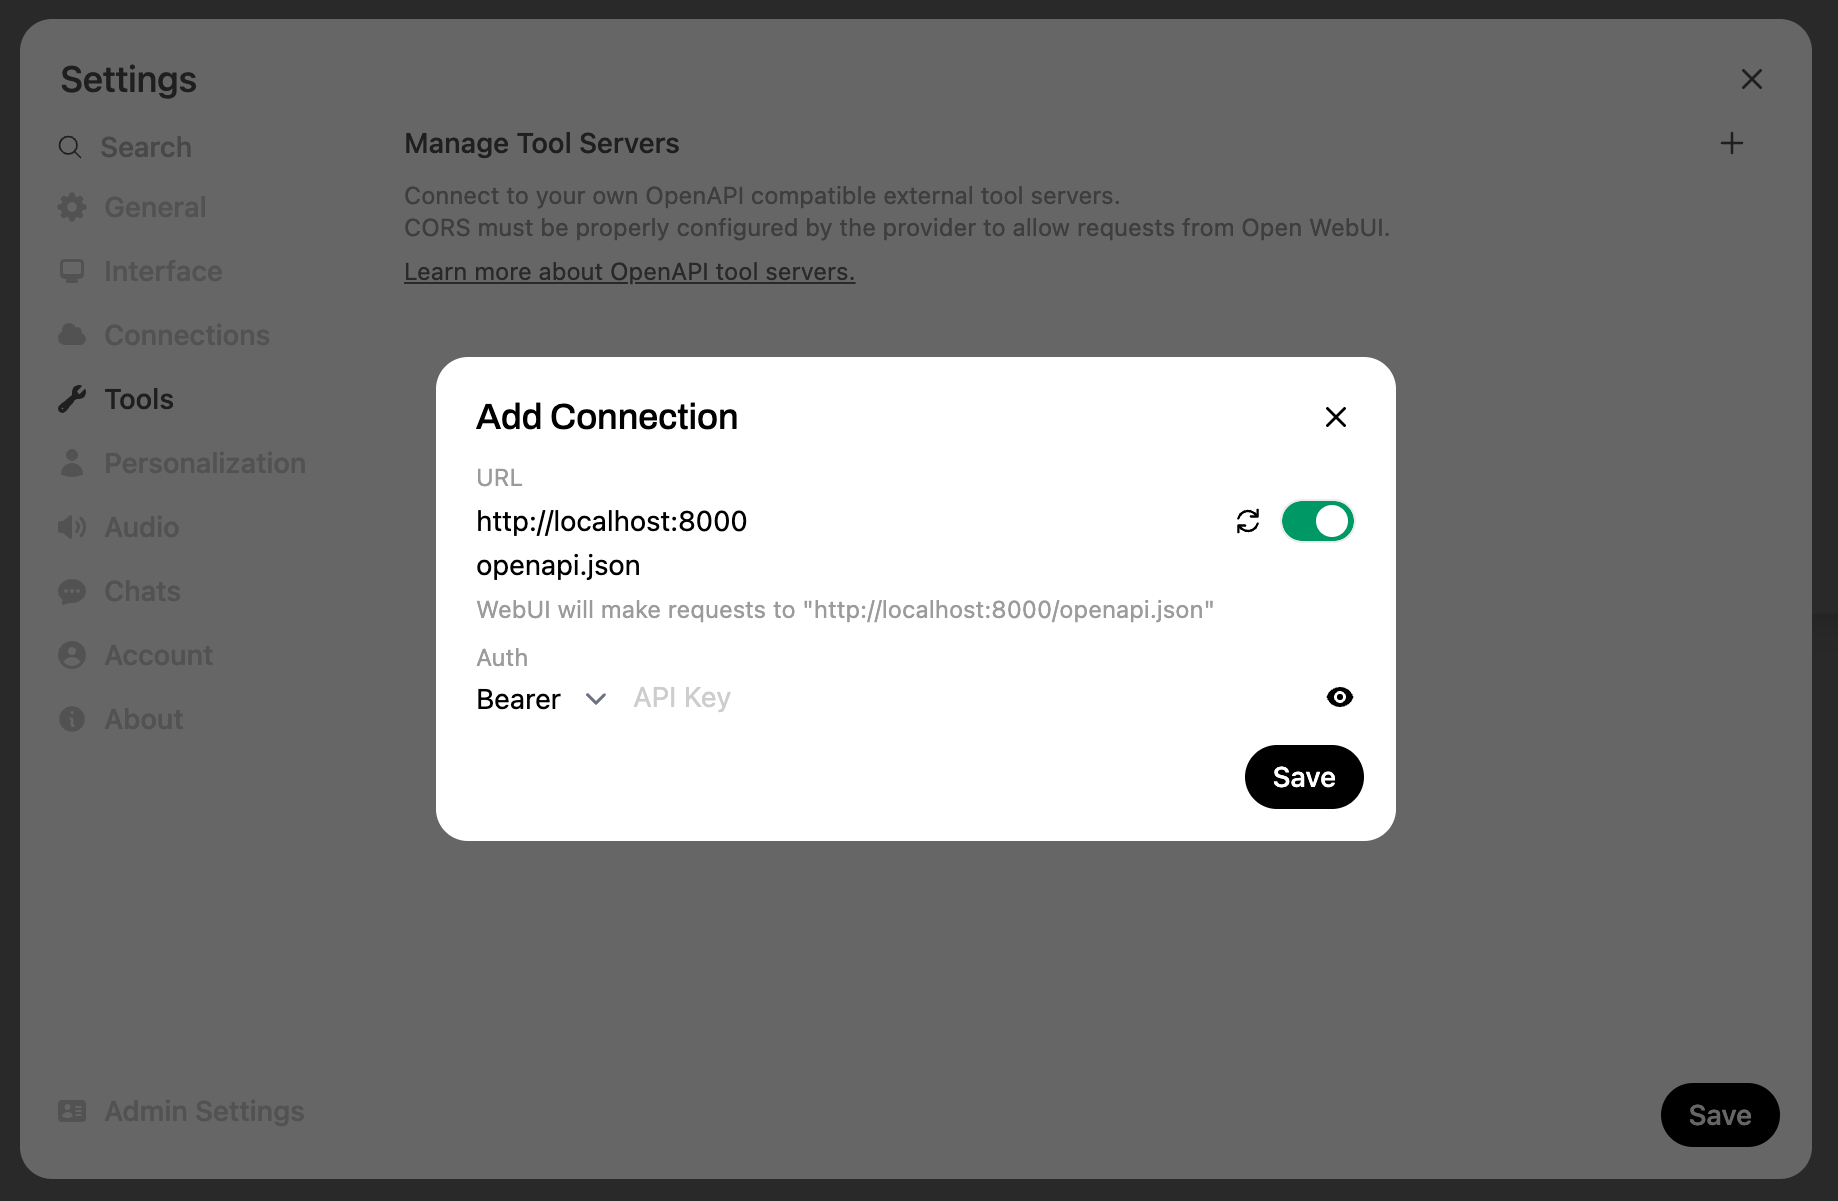
将 http://localhost:8000 添加为工具的 URL:
完成上述操作后,你应该会在聊天栏的工具图标旁看到一个数字 1:

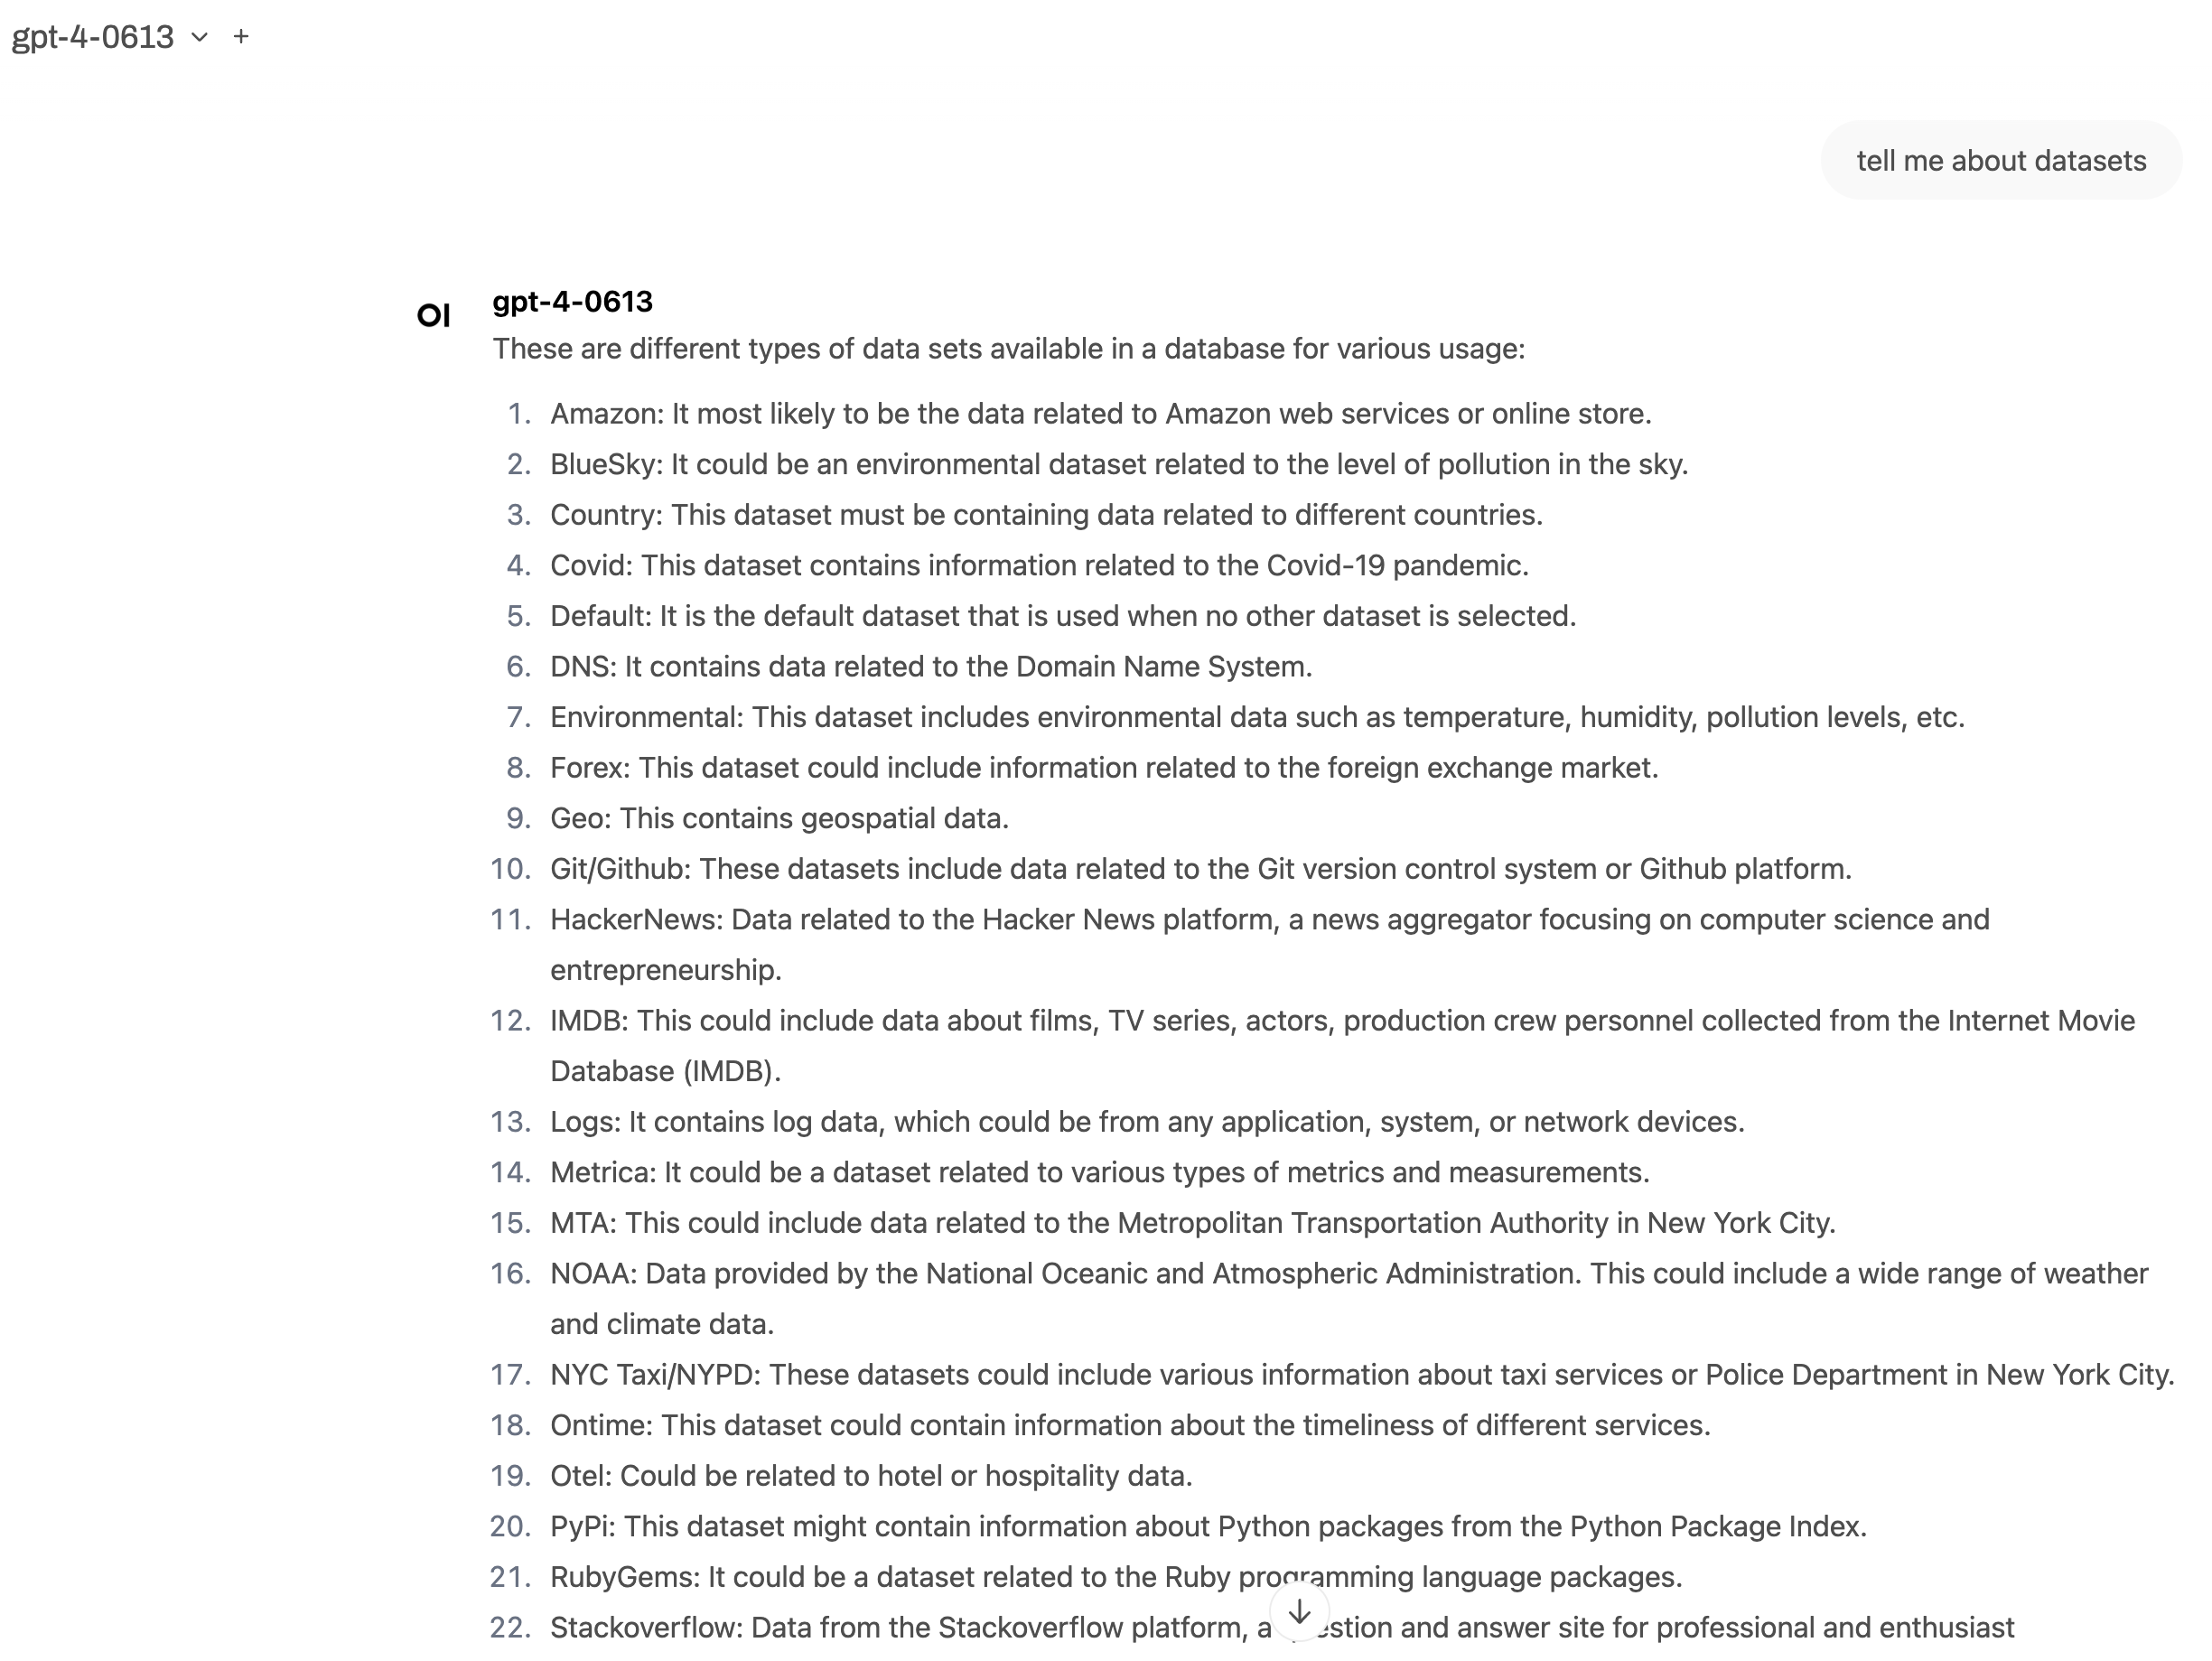
点击工具图标后,就可以看到可用工具列表:

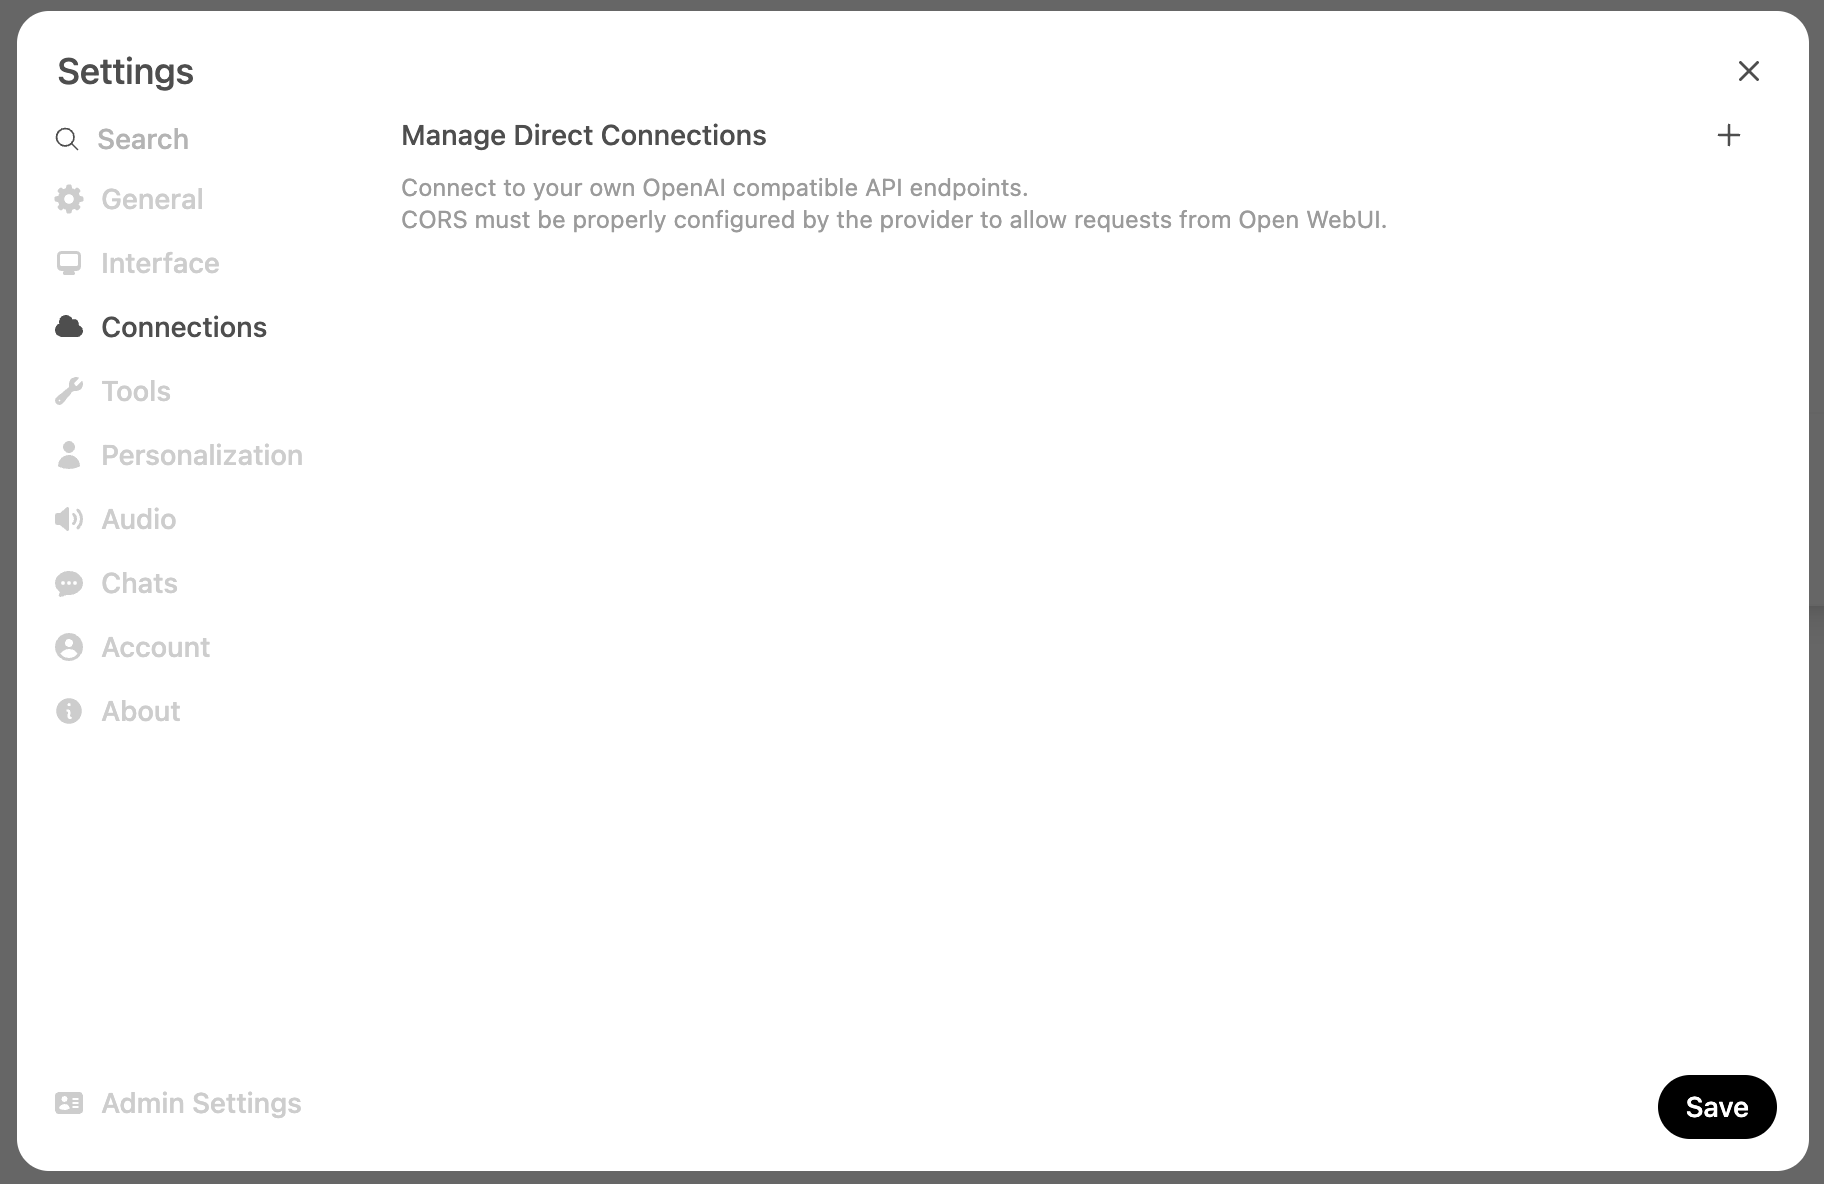
配置 OpenAI
默认情况下,Open WebUI 使用 Ollama 模型,但我们也可以添加与 OpenAI 兼容的端点。
这些内容通过设置菜单进行配置,不过这次需要点击 创建 选项卡:
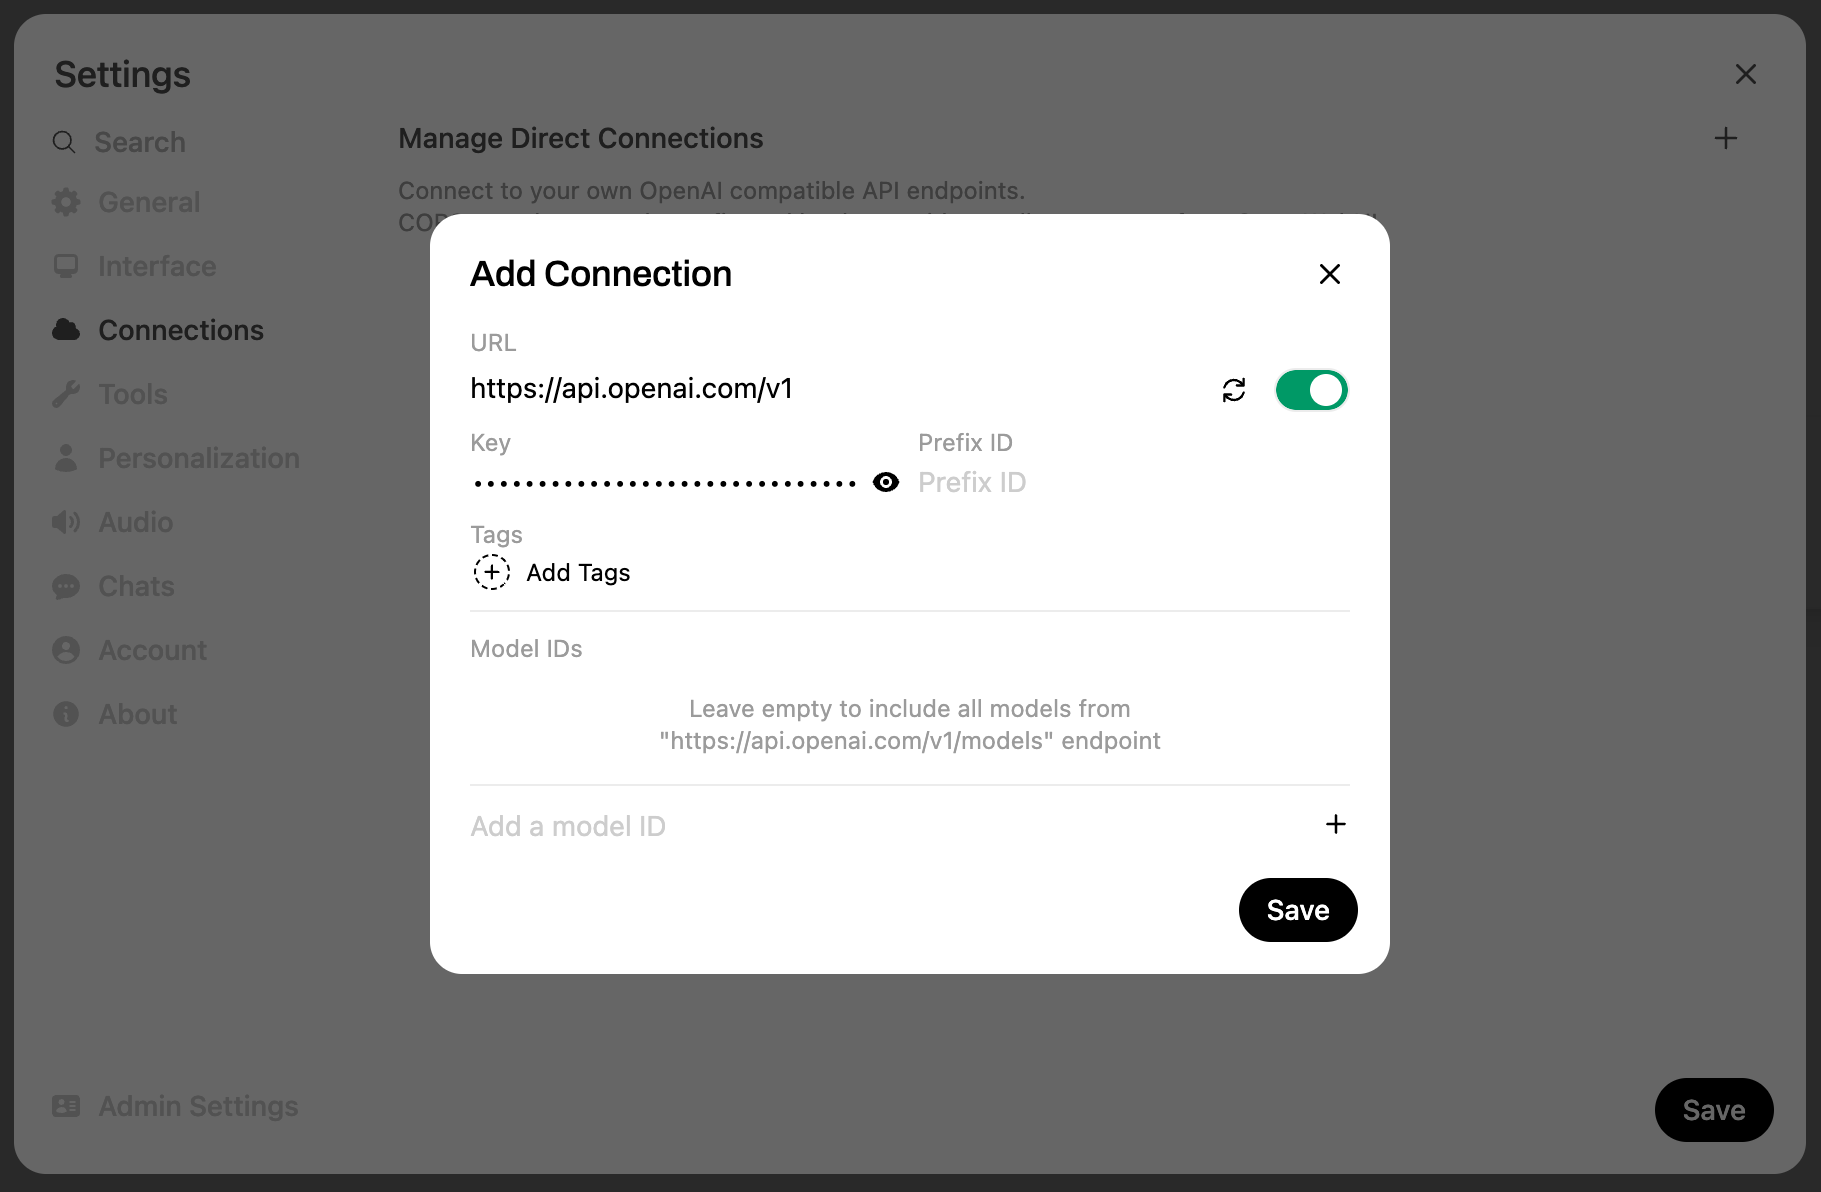
接下来添加端点和你的 OpenAI 密钥:
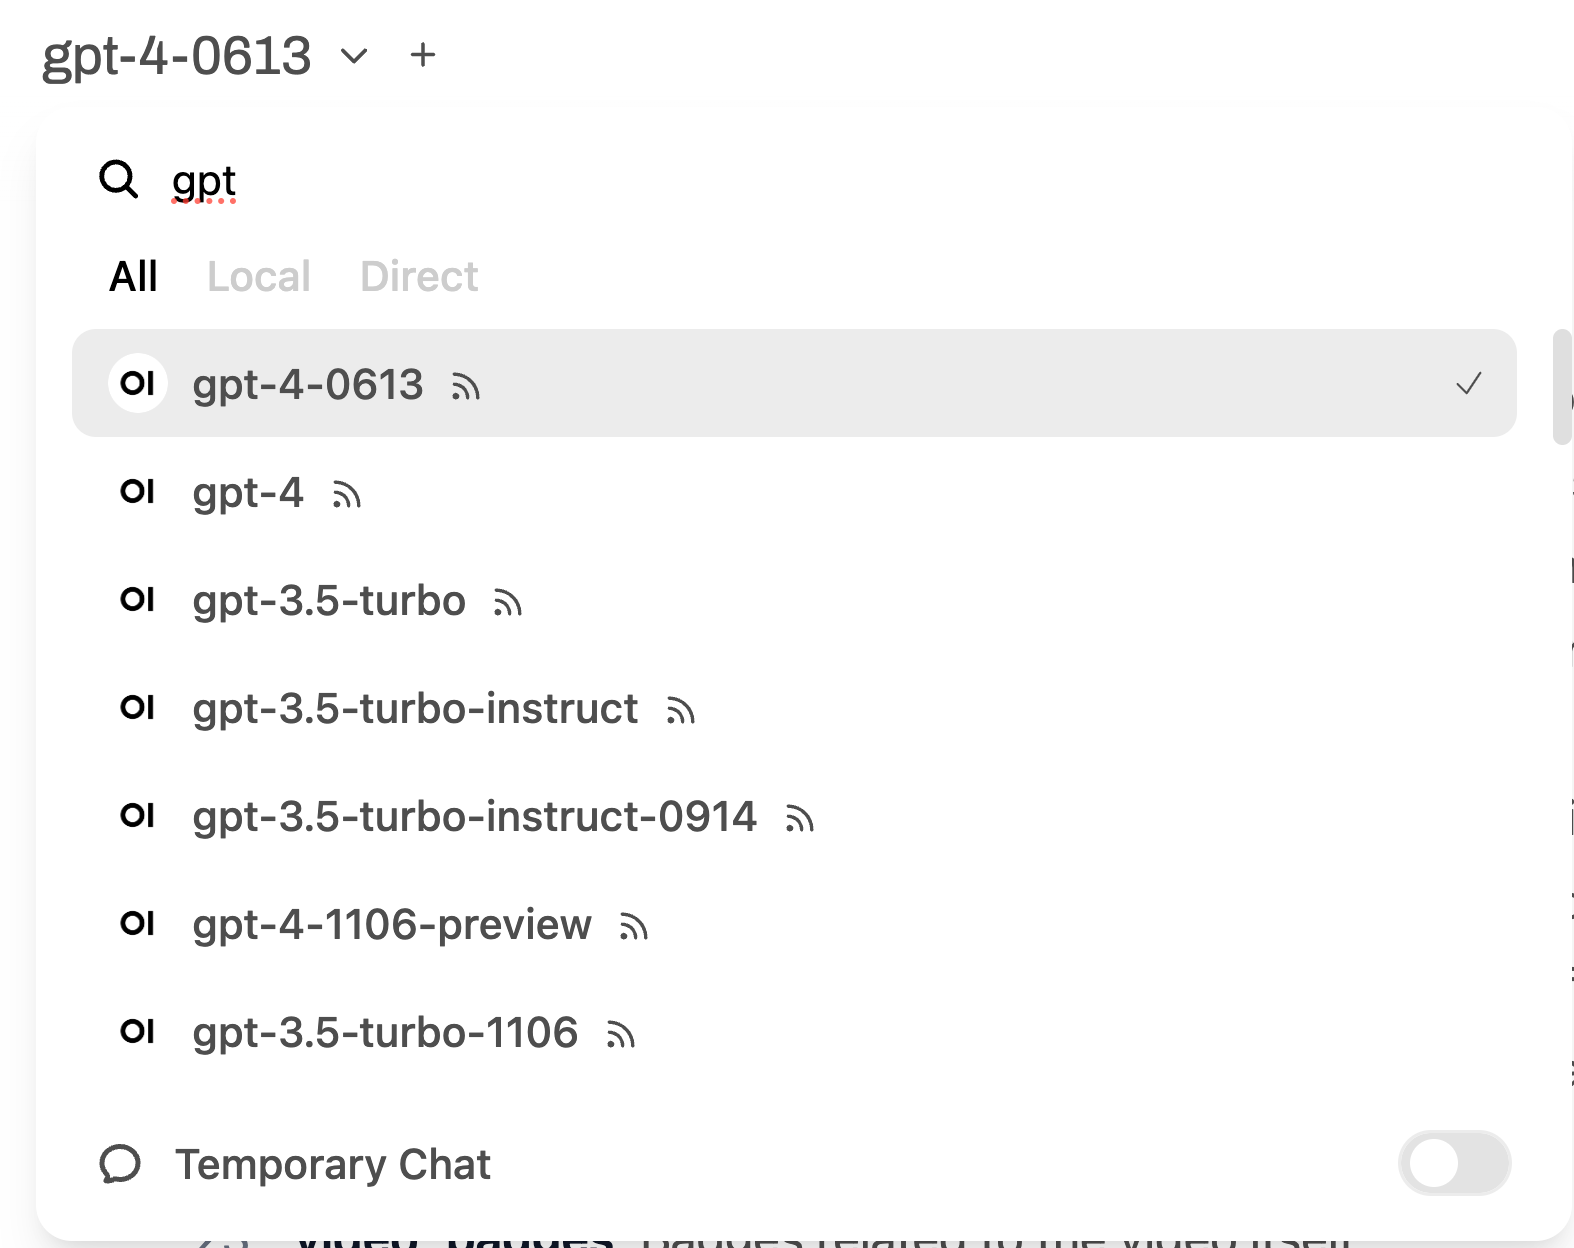
随后,OpenAI 模型将在顶部菜单中可用: