跳到主要内容
跳到主要内容

QuickSight

Community Maintained

QuickSight 可以通过官方 MySQL 数据源和直接查询模式连接到本地 ClickHouse 设置 (23.11+) 的 MySQL 接口。

On-premise ClickHouse server setup

请参考 官方文档 了解如何设置启用 MySQL 接口的 ClickHouse 服务器。

除了在服务器的 config.xml 中添加条目

<clickhouse>
    <mysql_port>9004</mysql_port>
</clickhouse>

外,还需要_使用_ 双 SHA1 密码加密 为使用 MySQL 接口的用户生成密码。

从 shell 生成一个使用双 SHA1 加密的随机密码:

PASSWORD=$(base64 < /dev/urandom | head -c16); echo "$PASSWORD"; echo -n "$PASSWORD" | sha1sum | tr -d '-' | xxd -r -p | sha1sum | tr -d '-'

输出应该类似于以下内容:

LZOQYnqQN4L/T6L0
fbc958cc745a82188a51f30de69eebfc67c40ee4

第一行是生成的密码,第二行是我们可以用来配置 ClickHouse 的哈希。

以下是使用生成的哈希的 mysql_user 的一个示例配置:

/etc/clickhouse-server/users.d/mysql_user.xml

<users>
    <mysql_user>
        <password_double_sha1_hex>fbc958cc745a82188a51f30de69eebfc67c40ee4</password_double_sha1_hex>
        <networks>
            <ip>::/0</ip>
        </networks>
        <profile>default</profile>
        <quota>default</quota>
    </mysql_user>
</users>

用你自己生成的双 SHA1 哈希替换 password_double_sha1_hex 条目。

QuickSight 需要 MySQL 用户配置文件中的几个额外设置。

/etc/clickhouse-server/users.d/mysql_user.xml

<profiles>
    <default>
        <prefer_column_name_to_alias>1</prefer_column_name_to_alias>
        <mysql_map_string_to_text_in_show_columns>1</mysql_map_string_to_text_in_show_columns>
        <mysql_map_fixed_string_to_text_in_show_columns>1</mysql_map_fixed_string_to_text_in_show_columns>
    </default>
</profiles>

但是,建议将其分配给可以由 MySQL 用户使用的不同配置文件,而不是默认配置文件。

最后,配置 Clickhouse 服务器以在所需的 IP 地址上监听。 在 config.xml 中,取消注释以下内容以在所有地址上监听:

<listen_host>::</listen_host>

如果你有可用的 mysql 二进制文件,可以从命令行测试连接。 使用上面的示例用户名(mysql_user)和密码(LZOQYnqQN4L/T6L0),命令行将如下:

mysql --protocol tcp -h localhost -u mysql_user -P 9004 --password=LZOQYnqQN4L/T6L0
mysql> show databases;
+--------------------+
| name               |
+--------------------+
| INFORMATION_SCHEMA |
| default            |
| information_schema |
| system             |
+--------------------+
4 rows in set (0.00 sec)
Read 4 rows, 603.00 B in 0.00156 sec., 2564 rows/sec., 377.48 KiB/sec.

Connecting QuickSight to ClickHouse

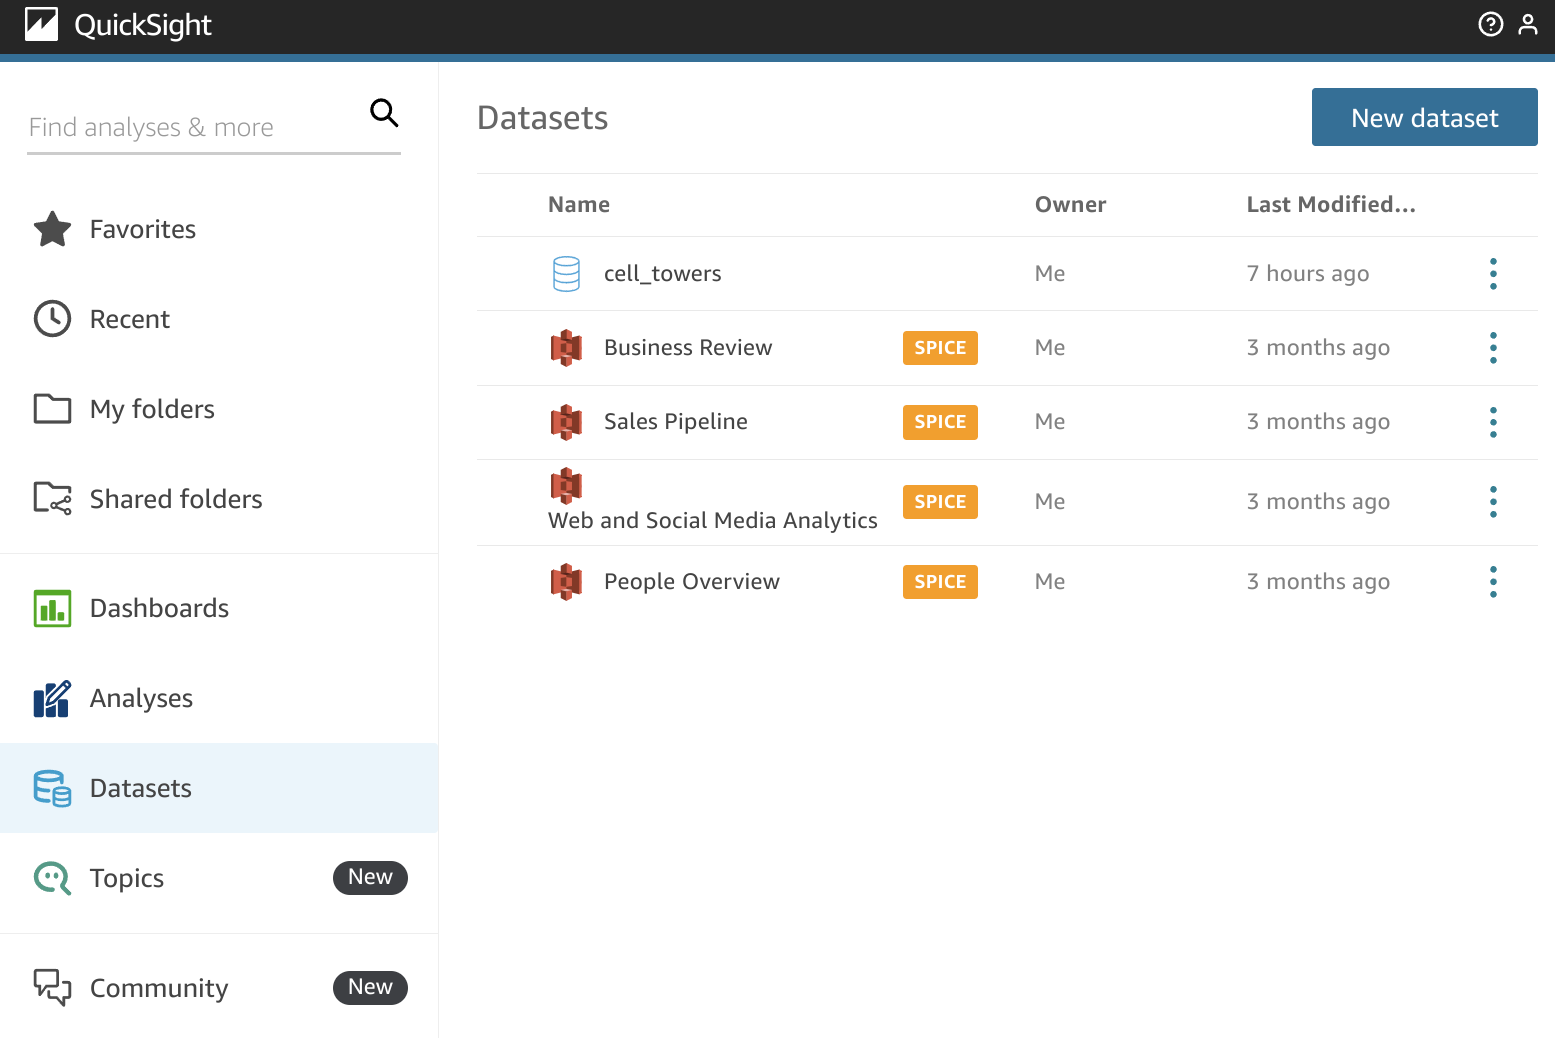
首先,访问 https://quicksight.aws.amazon.com,导航到数据集并点击“新建数据集”:

Amazon QuickSight dashboard showing the New dataset button in Datasets section

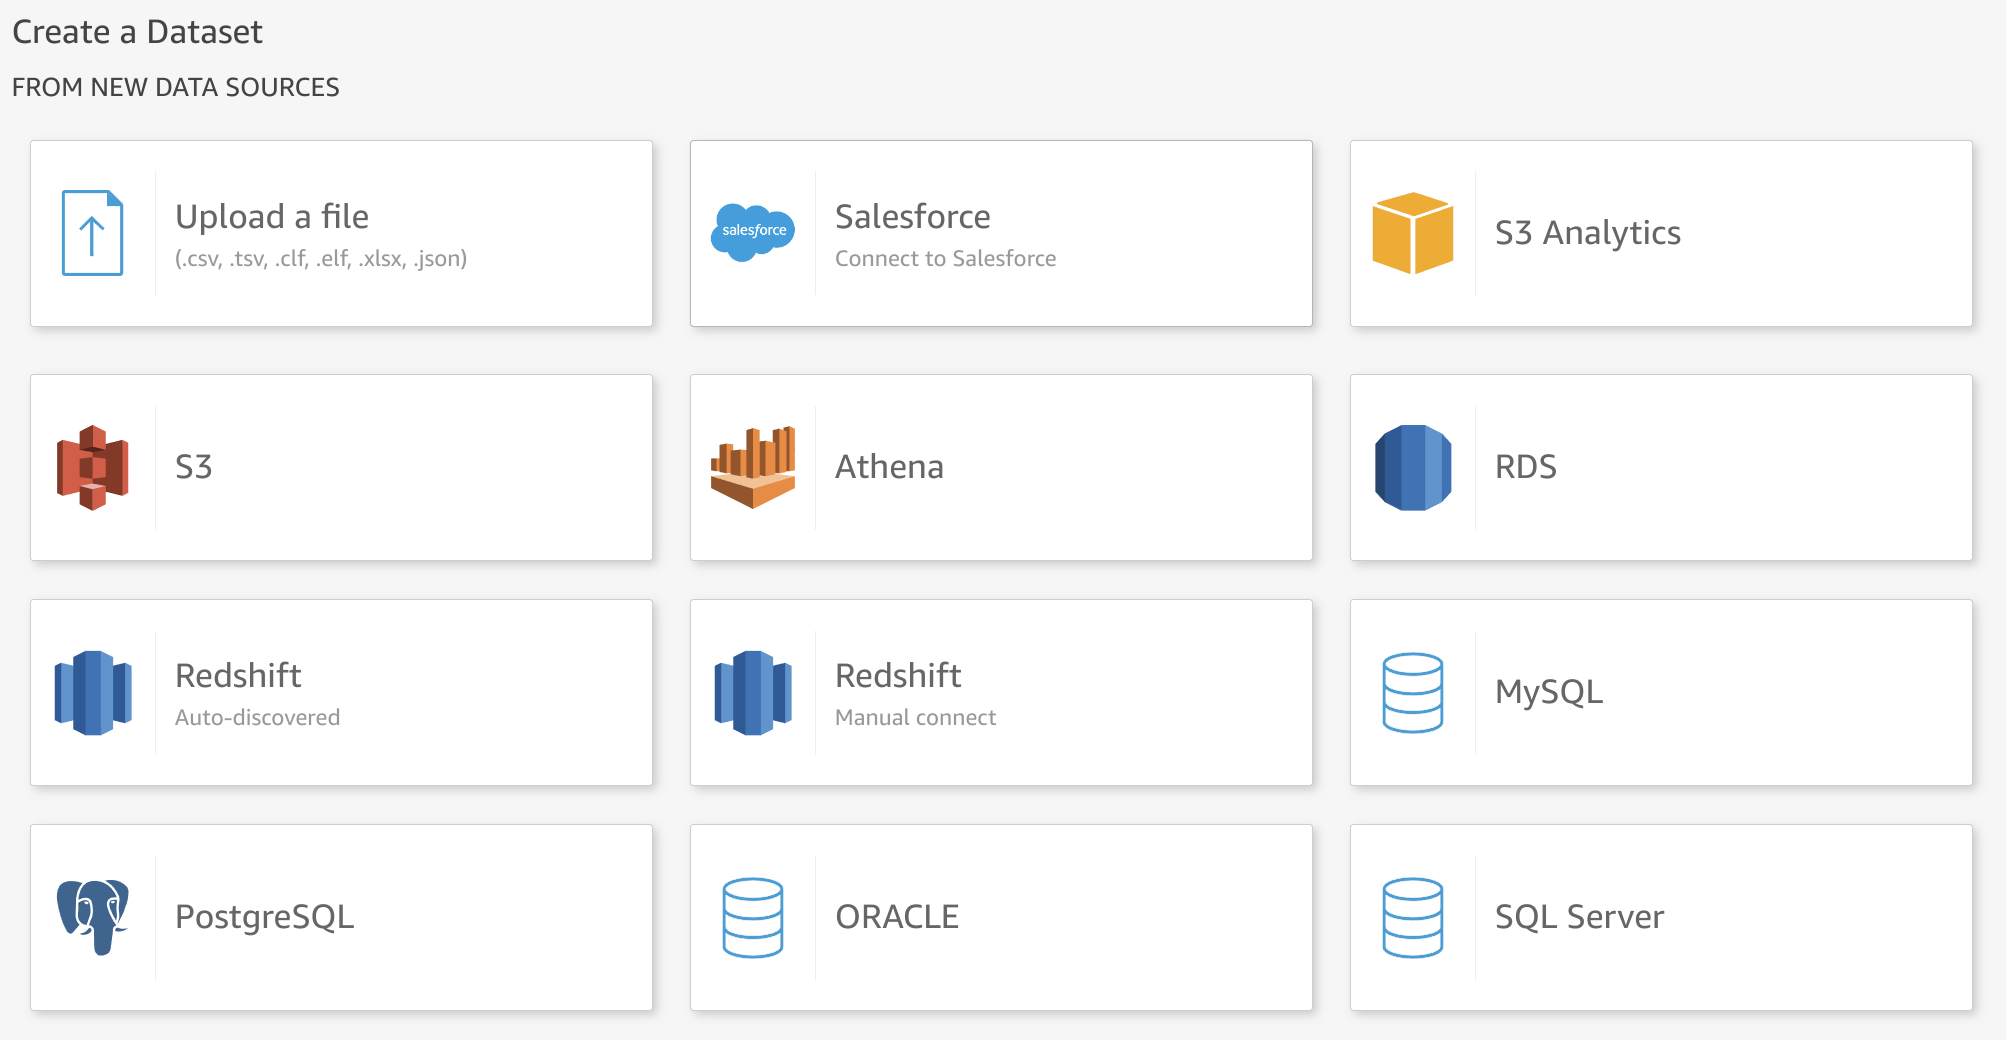
搜索 QuickSight 捆绑的官方 MySQL 连接器(仅命名为 MySQL):

QuickSight data source selection screen with MySQL highlighted in search results

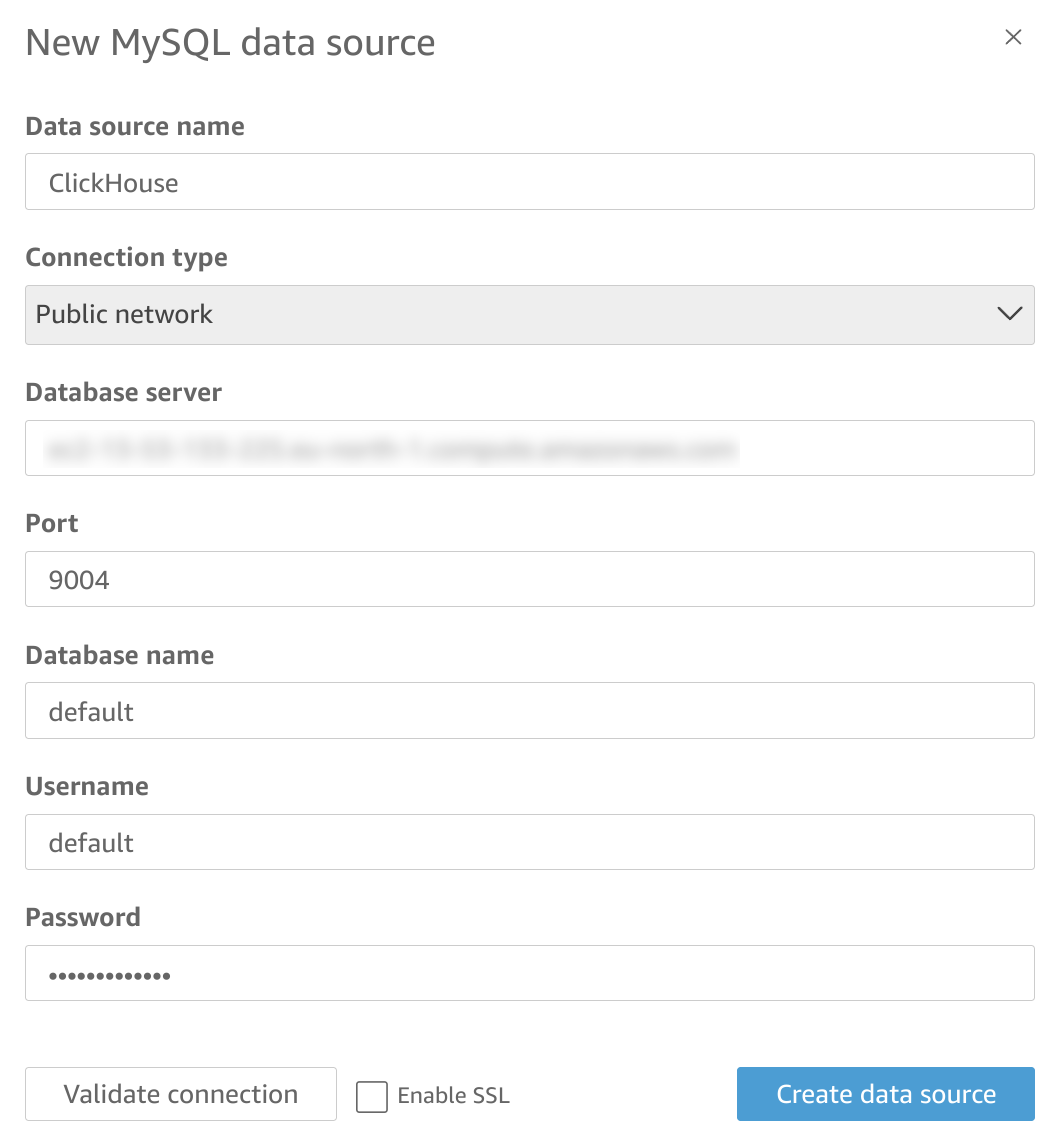
指定您的连接详细信息。请注意,MySQL 接口端口默认为 9004,具体取决于您的服务器配置可能会有所不同。

QuickSight MySQL connection configuration form with hostname, port, database and credential fields

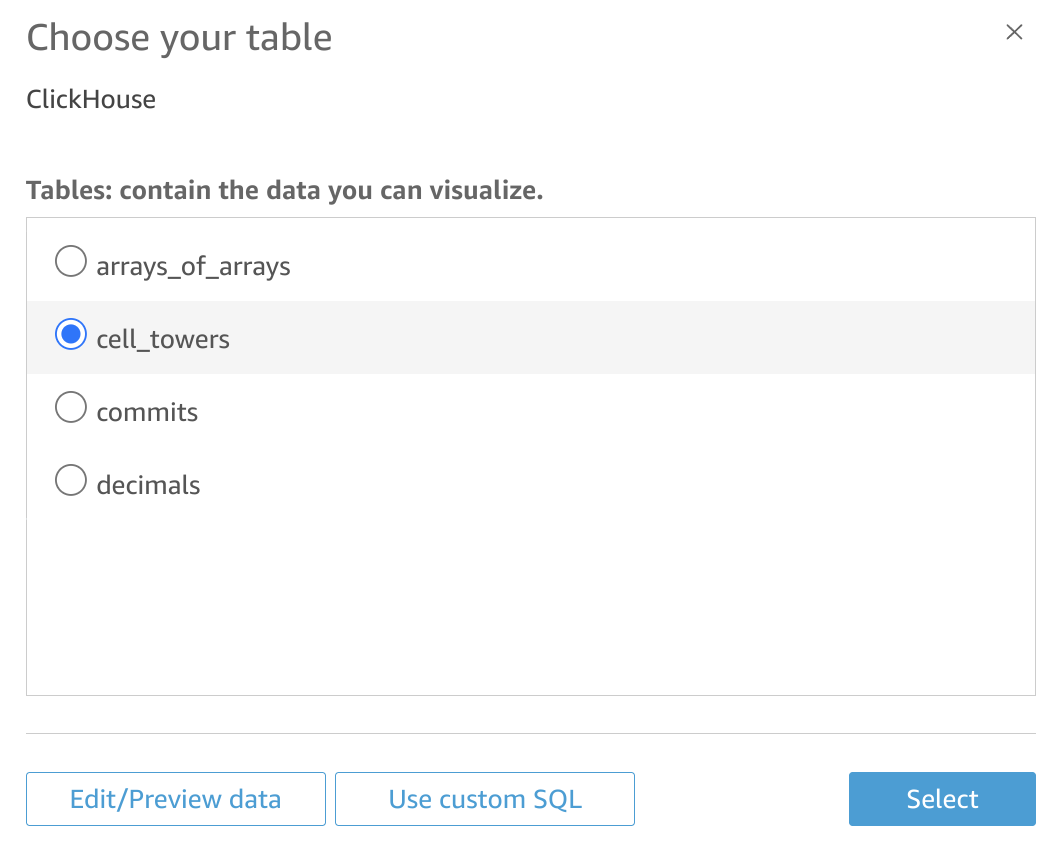
现在,您有两种获取数据的选项。首先,您可以从列表中选择一个表:

QuickSight table selection interface showing database tables available from ClickHouse

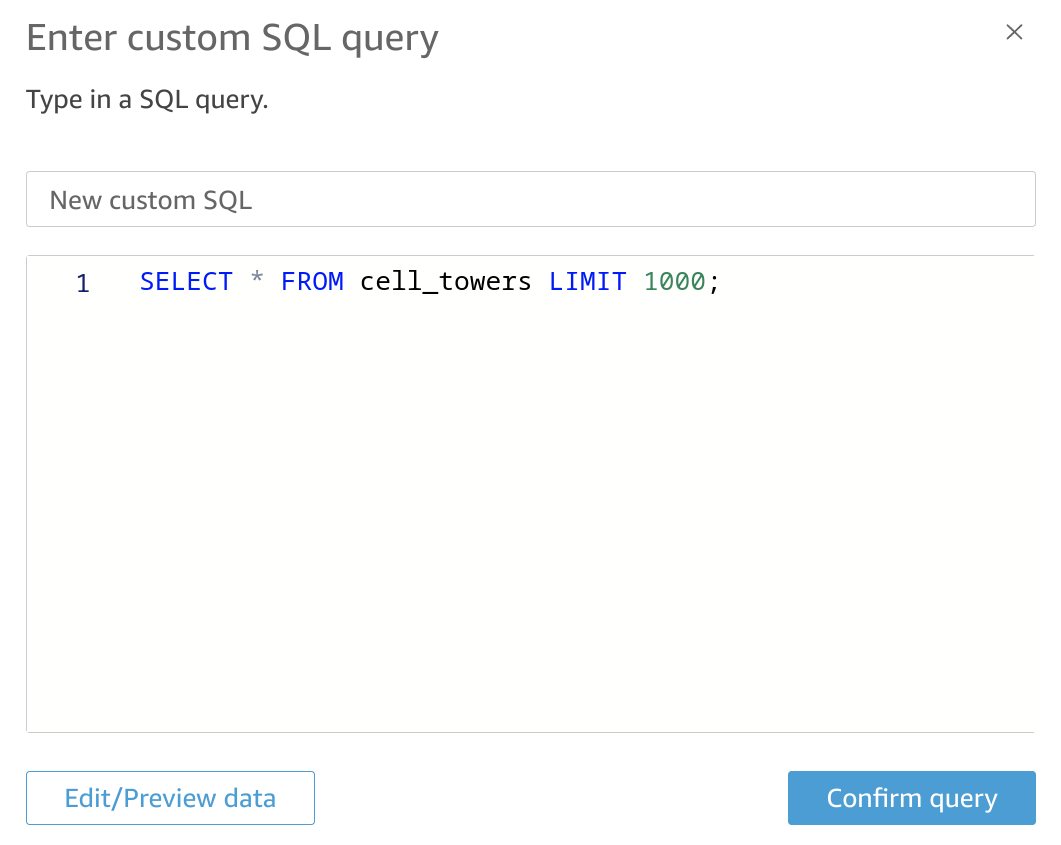
另外,您可以指定一个自定义 SQL 来获取您的数据:

QuickSight custom SQL query editor for fetching data from ClickHouse

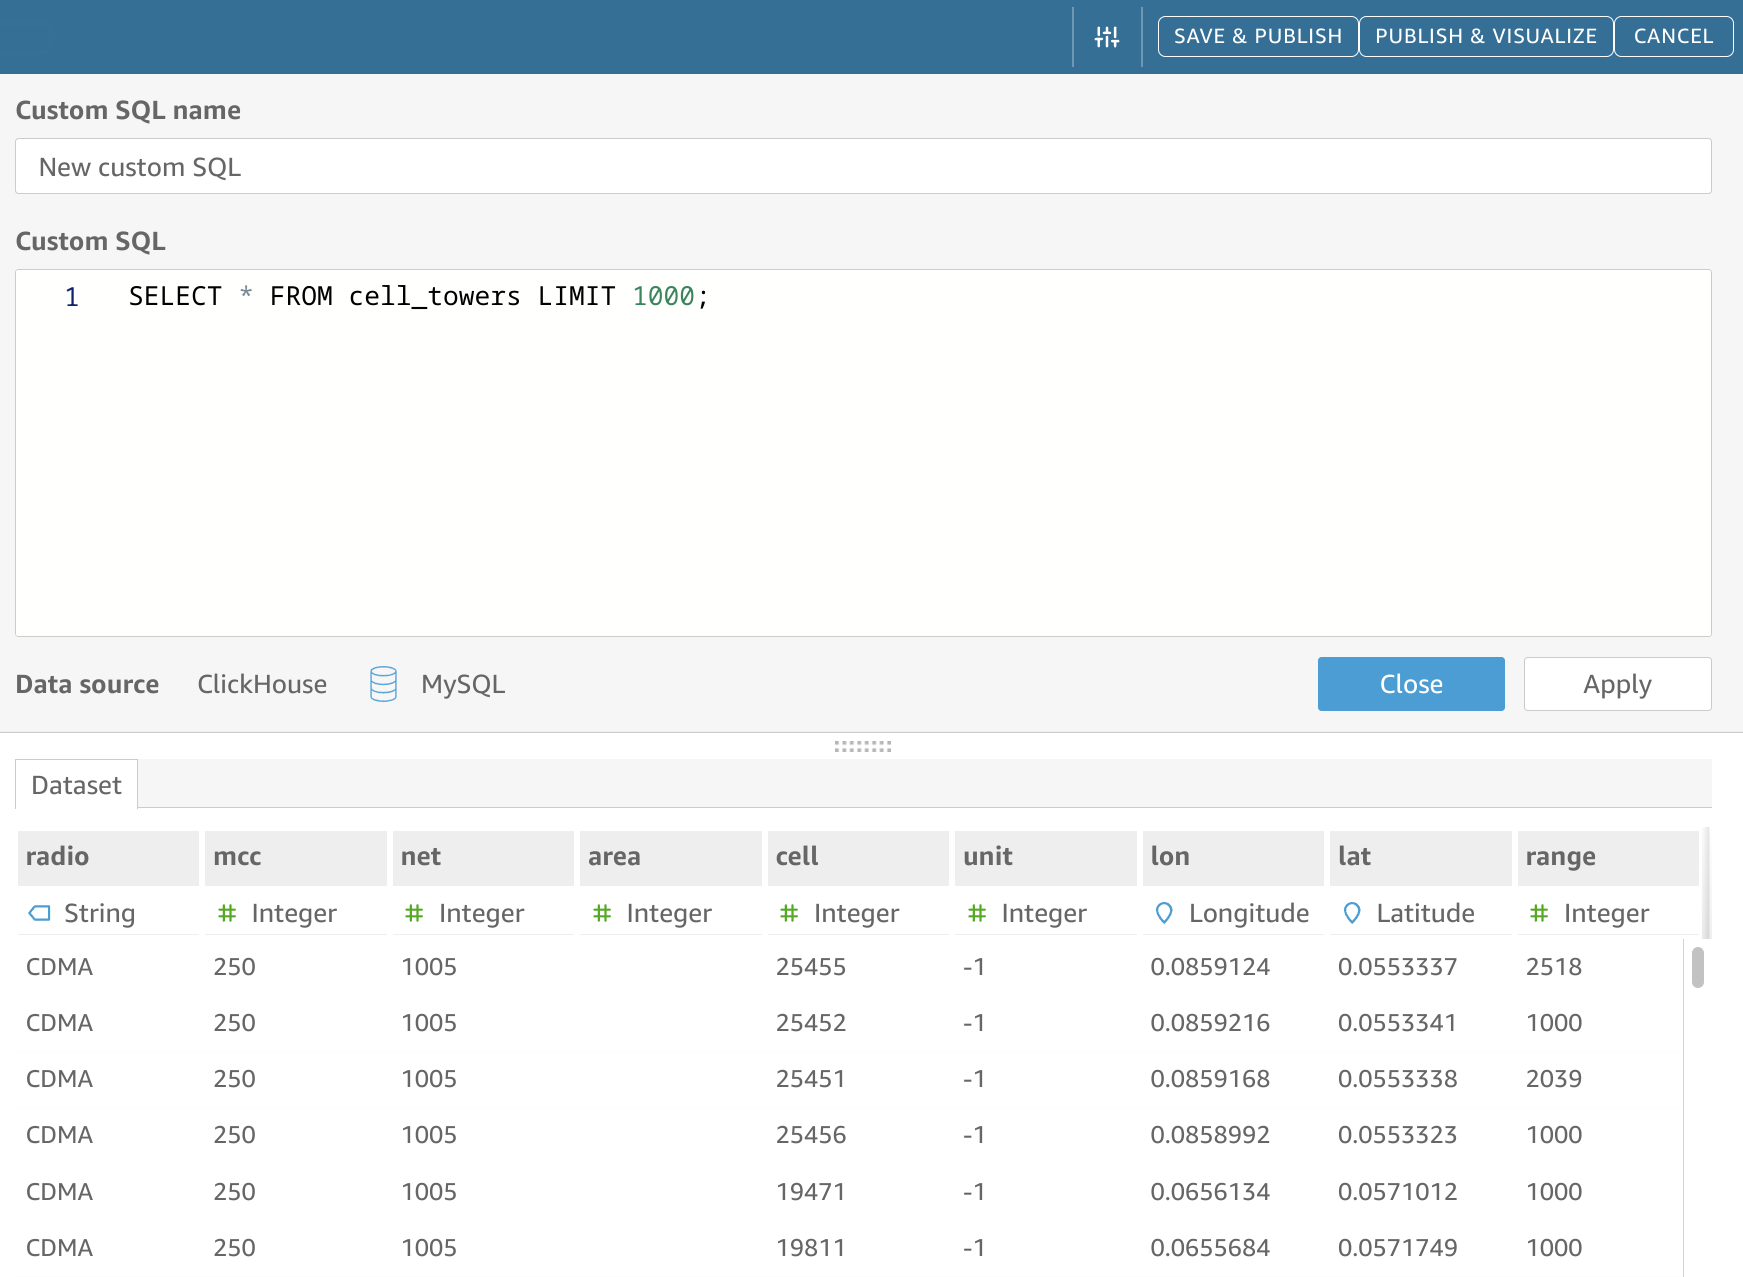
通过点击“编辑/预览数据”,您应该能够看到内部结构的表结构或调整自定义 SQL,如果您选择了这种方式来访问数据:

QuickSight data preview showing table structure with columns and sample data

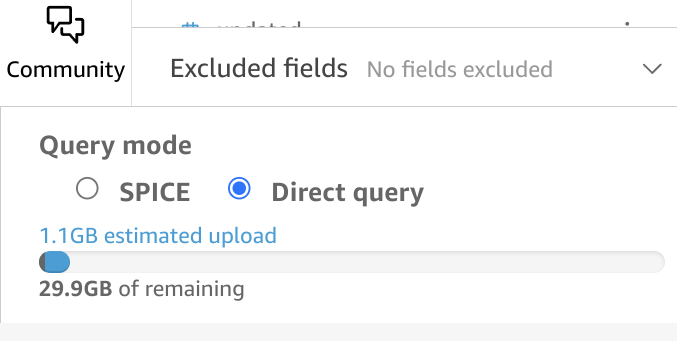
确保您在 UI 左下角选择了“直接查询”模式:

QuickSight interface with Direct Query mode option highlighted in bottom corner

现在,您可以继续发布数据集并创建新的可视化!

Known limitations

  • SPICE 导入工作不如预期;请改用直接查询模式。见 #58553