> ## Documentation Index
> Fetch the complete documentation index at: https://clickhouse.com/docs/llms.txt
> Use this file to discover all available pages before exploring further.
> 配合 Kafka Connect 和 ClickHouse 使用 ClickHouse Connector Sink
# 将 Confluent Platform 与 ClickHouse 集成
export const Image = ({img, alt, size = "lg"}) => {
const normalizedSize = ["sm", "md", "lg"].includes(size) ? size : "lg";
return ;
};
## 前置条件
我们假设你已经熟悉以下内容:
* [ClickHouse Connector Sink](/docs/zh/integrations/connectors/data-ingestion/kafka/kafka-clickhouse-connect-sink)
* Confluent Platform 和 [自定义连接器](https://docs.confluent.io/cloud/current/connectors/bring-your-connector/overview.html)。
## ClickHouse 官方 Kafka 连接器 (适用于 Confluent Platform)
### 在 Confluent Platform 上安装
本文旨在作为一份快速入门指南,帮助你开始使用运行于 Confluent Platform 上的 ClickHouse Sink Connector。
更多详情请参阅 [Confluent 官方文档](https://docs.confluent.io/cloud/current/connectors/bring-your-connector/custom-connector-qs.html#uploading-and-launching-the-connector)。
#### 创建 topic
在 Confluent Platform 上创建 topic 非常简单,详细说明请参见[此处](https://docs.confluent.io/cloud/current/client-apps/topics/manage.html)。
#### 重要说明
* Kafka topic 名称必须与 ClickHouse 表名保持一致。要实现这一点,可以使用转换器 (例如 [`ExtractTopic`](https://docs.confluent.io/platform/current/connect/transforms/extracttopic.html)) 。
* 分区更多并不一定意味着性能更高——更多详情和性能优化建议,请参阅我们即将发布的指南。
#### 安装连接器
您可以从我们的[仓库](https://github.com/ClickHouse/clickhouse-kafka-connect/releases)下载该连接器——也欢迎您在那里提交反馈和问题!
导航到 "Connector Plugins" -> "Add plugin",并使用以下设置:
```text theme={null}
'Connector Class' - 'com.clickhouse.kafka.connect.ClickHouseSinkConnector'
'Connector type' - Sink
'Sensitive properties' - 'password'. This will ensure entries of the ClickHouse password are masked during configuration.
```
示例:
#### 准备您的连接信息
要通过 HTTP(S) 连接到 ClickHouse,你需要以下信息:
| Parameter(s) | Description |
| ------------------------- | ------------------------------------------ |
| `HOST` and `PORT` | 通常,使用 TLS 时端口为 8443;不使用 TLS 时端口为 8123。 |
| `DATABASE NAME` | 默认情况下,存在一个名为 `default` 的数据库。请使用你要连接的数据库名称。 |
| `USERNAME` and `PASSWORD` | 默认情况下,用户名为 `default`。请根据你的使用场景使用相应的用户名。 |
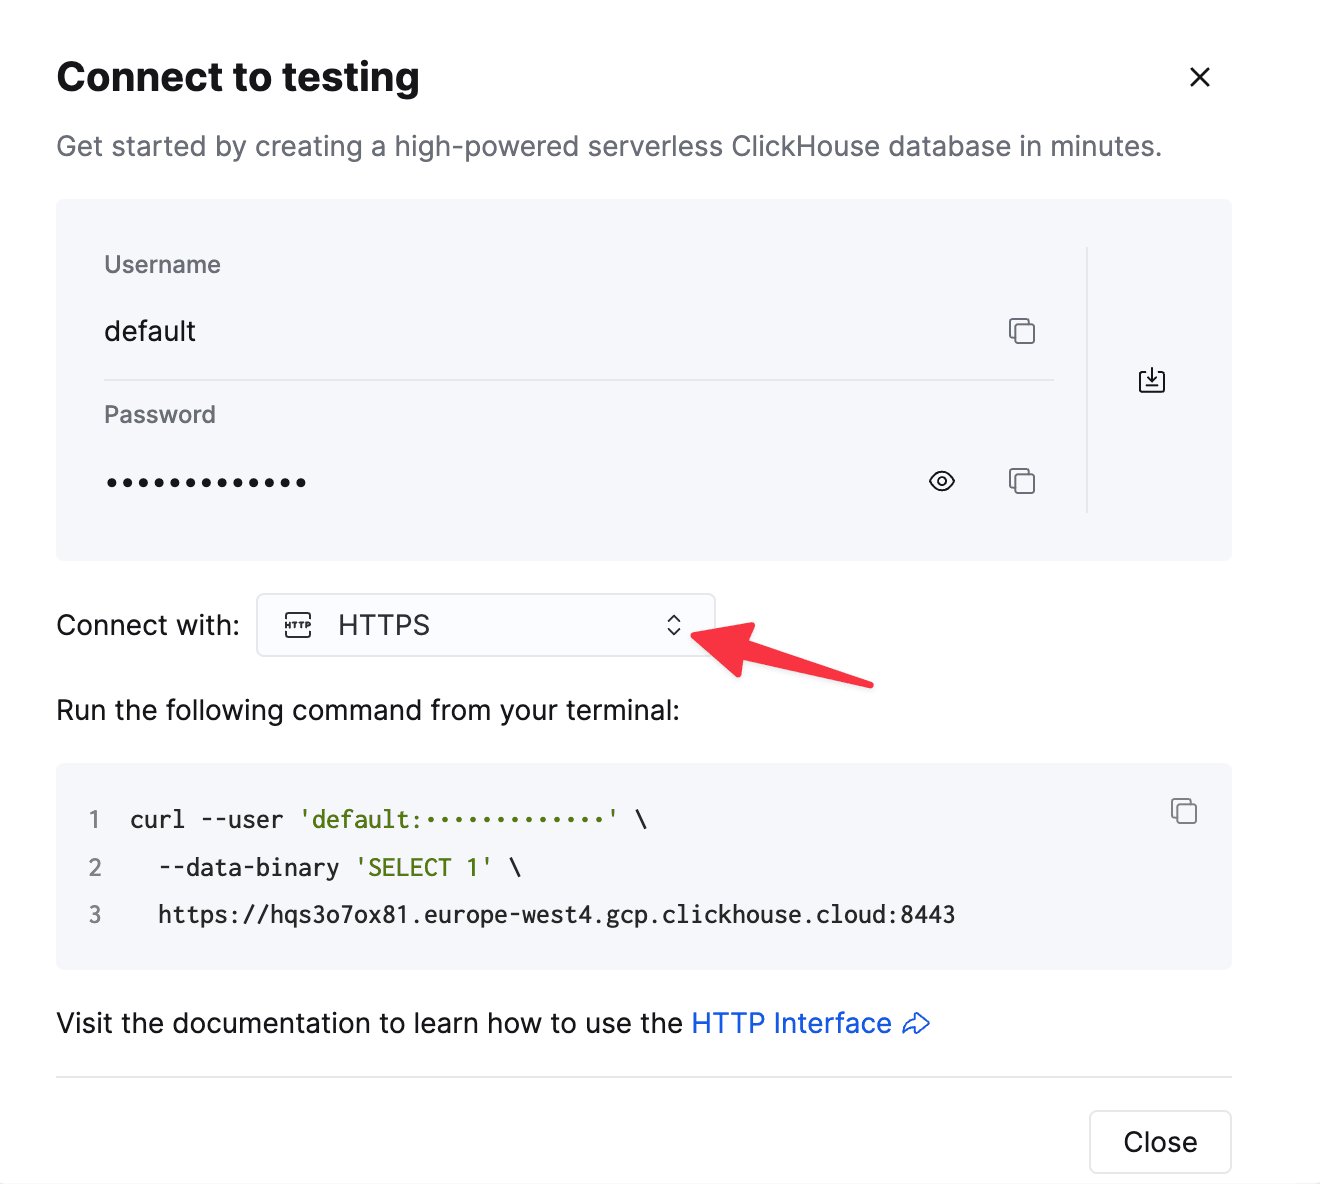
你的 ClickHouse Cloud 服务的连接信息可在 ClickHouse Cloud 控制台中查看。
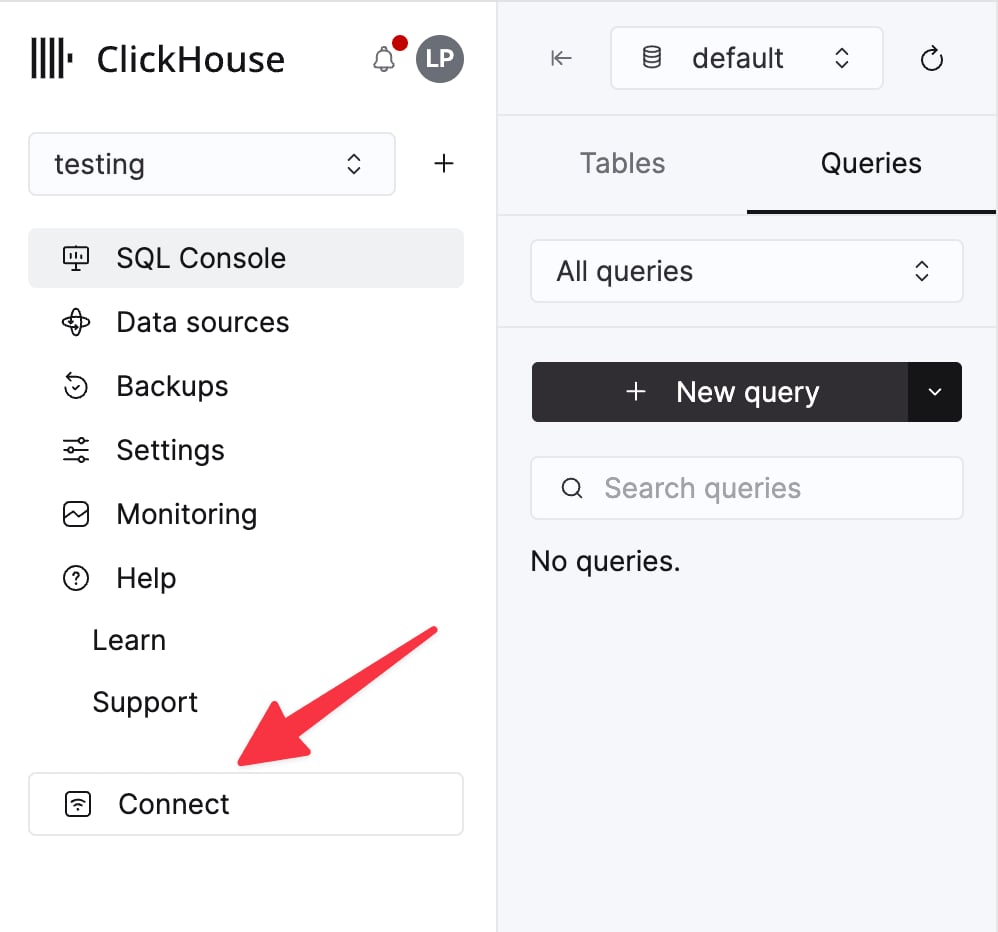
选择一个服务,然后点击 **Connect**:
选择 **HTTPS**。连接信息会显示在示例 `curl` 命令中。
如果你使用的是自管理 ClickHouse,则连接信息由你的 ClickHouse 管理员配置。
#### 配置连接器
前往 `Connectors` -> `Add Connector`,并使用以下设置 (请注意,这些值仅为示例) :
```json theme={null}
{
"database": "",
"errors.retry.timeout": "30",
"exactlyOnce": "false",
"schemas.enable": "false",
"hostname": "",
"password": "",
"port": "8443",
"ssl": "true",
"topics": "",
"username": "",
"key.converter": "org.apache.kafka.connect.storage.StringConverter",
"value.converter": "org.apache.kafka.connect.json.JsonConverter",
"value.converter.schemas.enable": "false"
}
```
#### 指定连接端点
您需要指定该连接器可访问的端点允许列表。
添加网络出站端点时,必须使用完全限定域名 (FQDN) 。
示例:`u57swl97we.eu-west-1.aws.clickhouse.com:8443`
您必须指定 HTTP(S) 端口。该连接器目前尚不支持 Native protocol。
[阅读文档。](https://docs.confluent.io/cloud/current/connectors/bring-your-connector/custom-connector-qs.html#cc-byoc-endpoints)
这样应该就可以了!
#### 已知限制
* 自定义连接器必须使用公共互联网端点。不支持静态 IP 地址。
* 你可以覆盖部分自定义连接器属性。请参阅[官方文档中的完整列表。](https://docs.confluent.io/cloud/current/connectors/bring-your-connector/custom-connector-manage.html#override-configuration-properties)
* 自定义连接器仅在[部分 AWS 区域](https://docs.confluent.io/cloud/current/connectors/bring-your-connector/custom-connector-fands.html#supported-aws-regions)中可用
* 请参阅[官方文档中关于自定义连接器限制的列表](https://docs.confluent.io/cloud/current/connectors/bring-your-connector/custom-connector-fands.html#limitations)