Looker
Partner Integration
Looker は、公式の ClickHouse データソースを介して、ClickHouse Cloud またはオンプレミス環境のデプロイメントに接続できます。
1. 接続情報を確認する
HTTP(S) で ClickHouse に接続するには、次の情報が必要です。
| Parameter(s) | Description |
|---|---|
HOST and PORT | 通常、TLS を使用する場合のポートは 8443、TLS を使用しない場合のポートは 8123 です。 |
DATABASE NAME | 既定で default という名前のデータベースが用意されています。接続したいデータベースの名前を使用してください。 |
USERNAME and PASSWORD | 既定のユーザー名は default です。用途に応じて適切なユーザー名を使用してください。 |
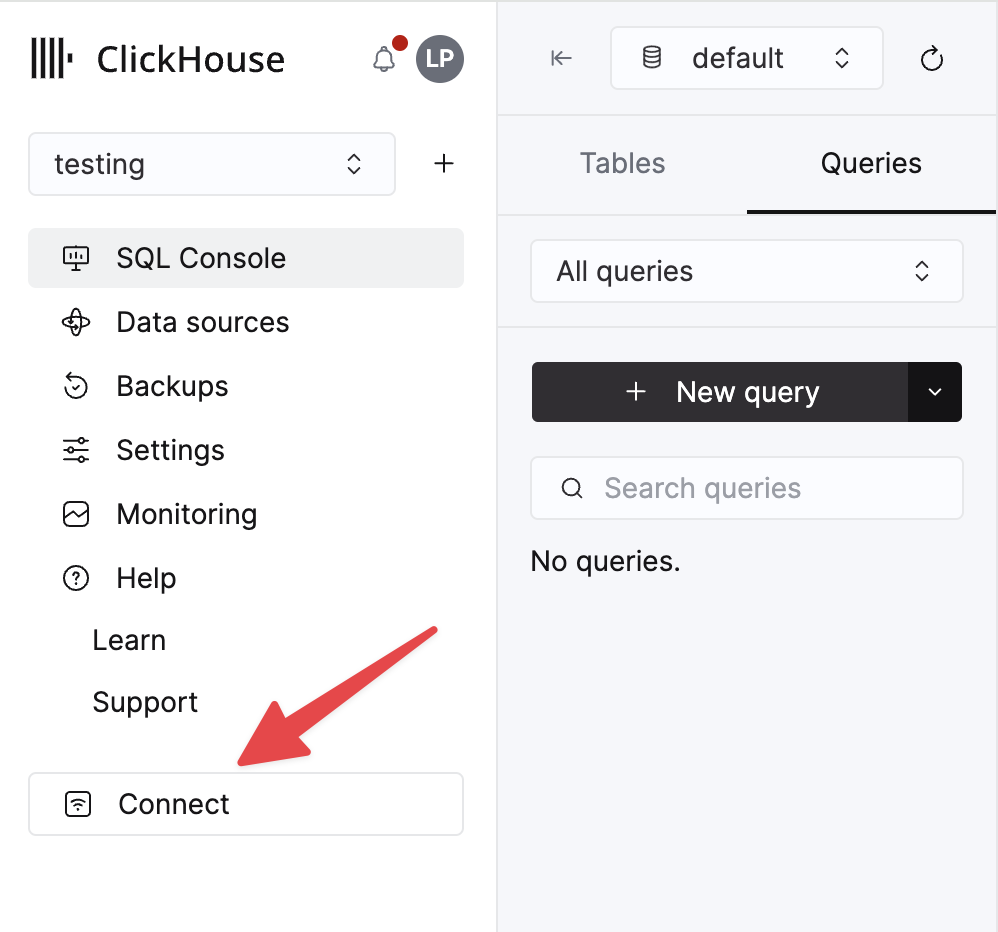
ClickHouse Cloud サービスに関する詳細情報は、ClickHouse Cloud コンソールで確認できます。 サービスを選択し、Connect をクリックします。
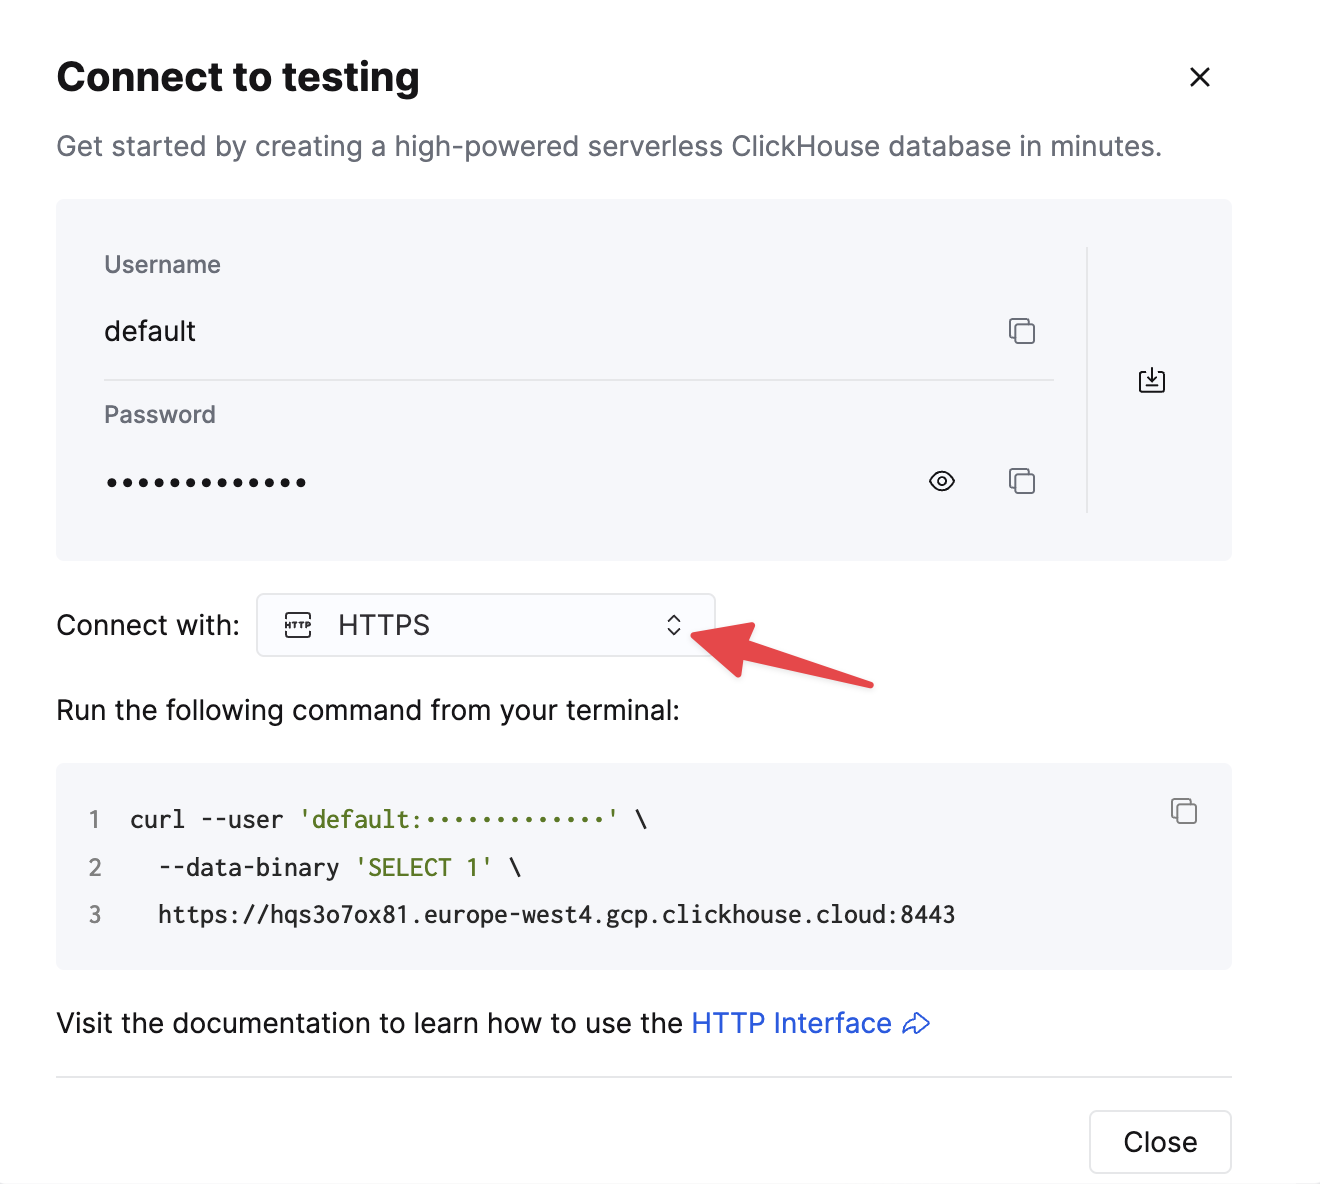
HTTPS を選択します。接続情報は、サンプルの curl コマンド内に表示されます。
セルフマネージドの ClickHouse を使用している場合、接続情報は ClickHouse 管理者によって設定されます。
2. ClickHouse データソースを作成する
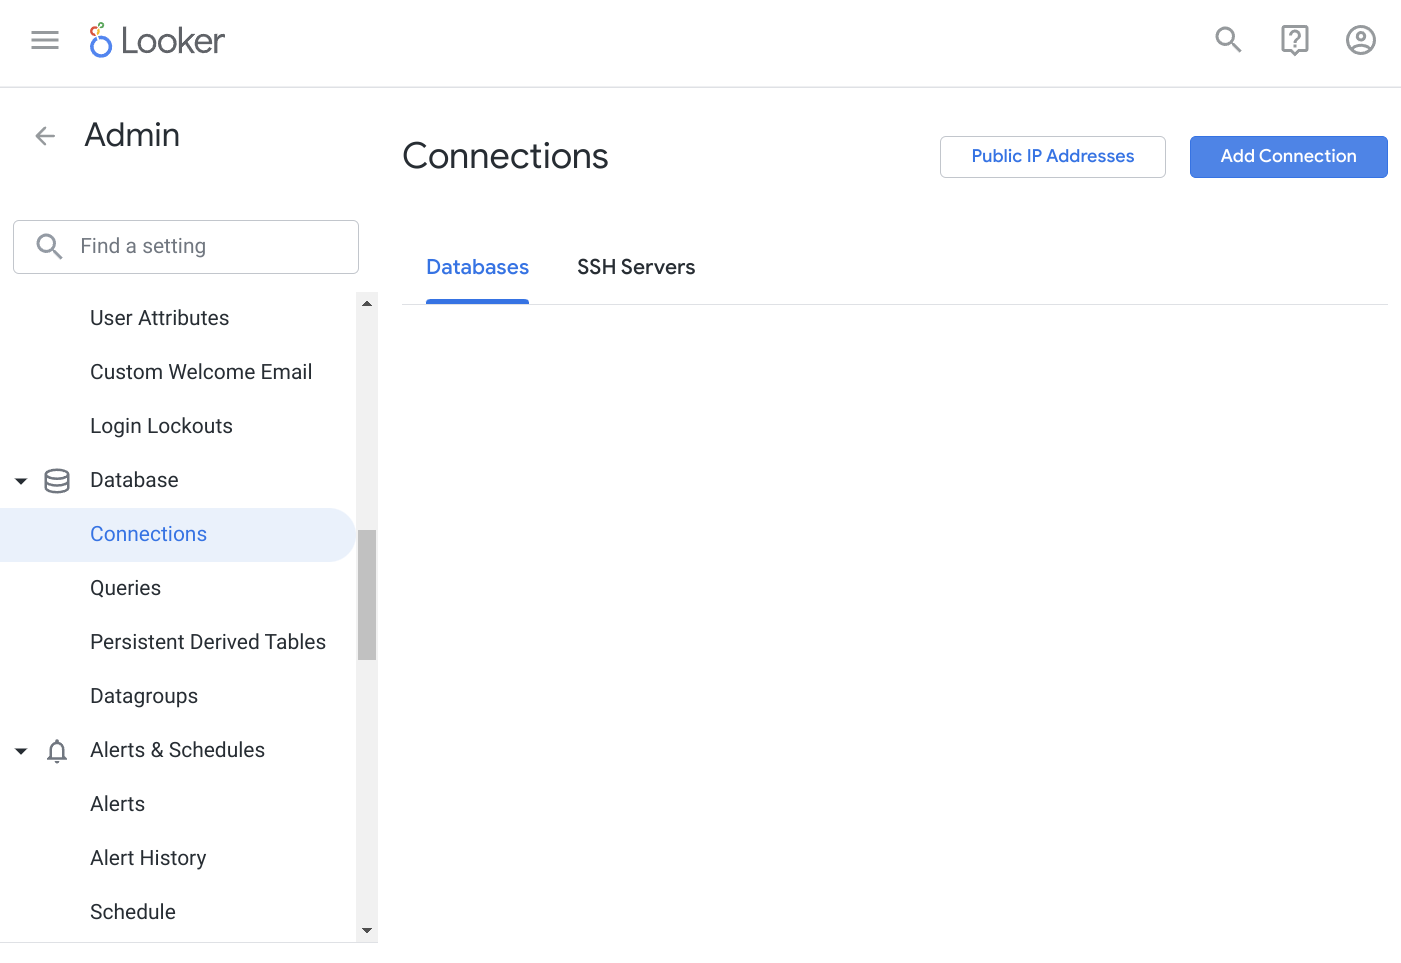
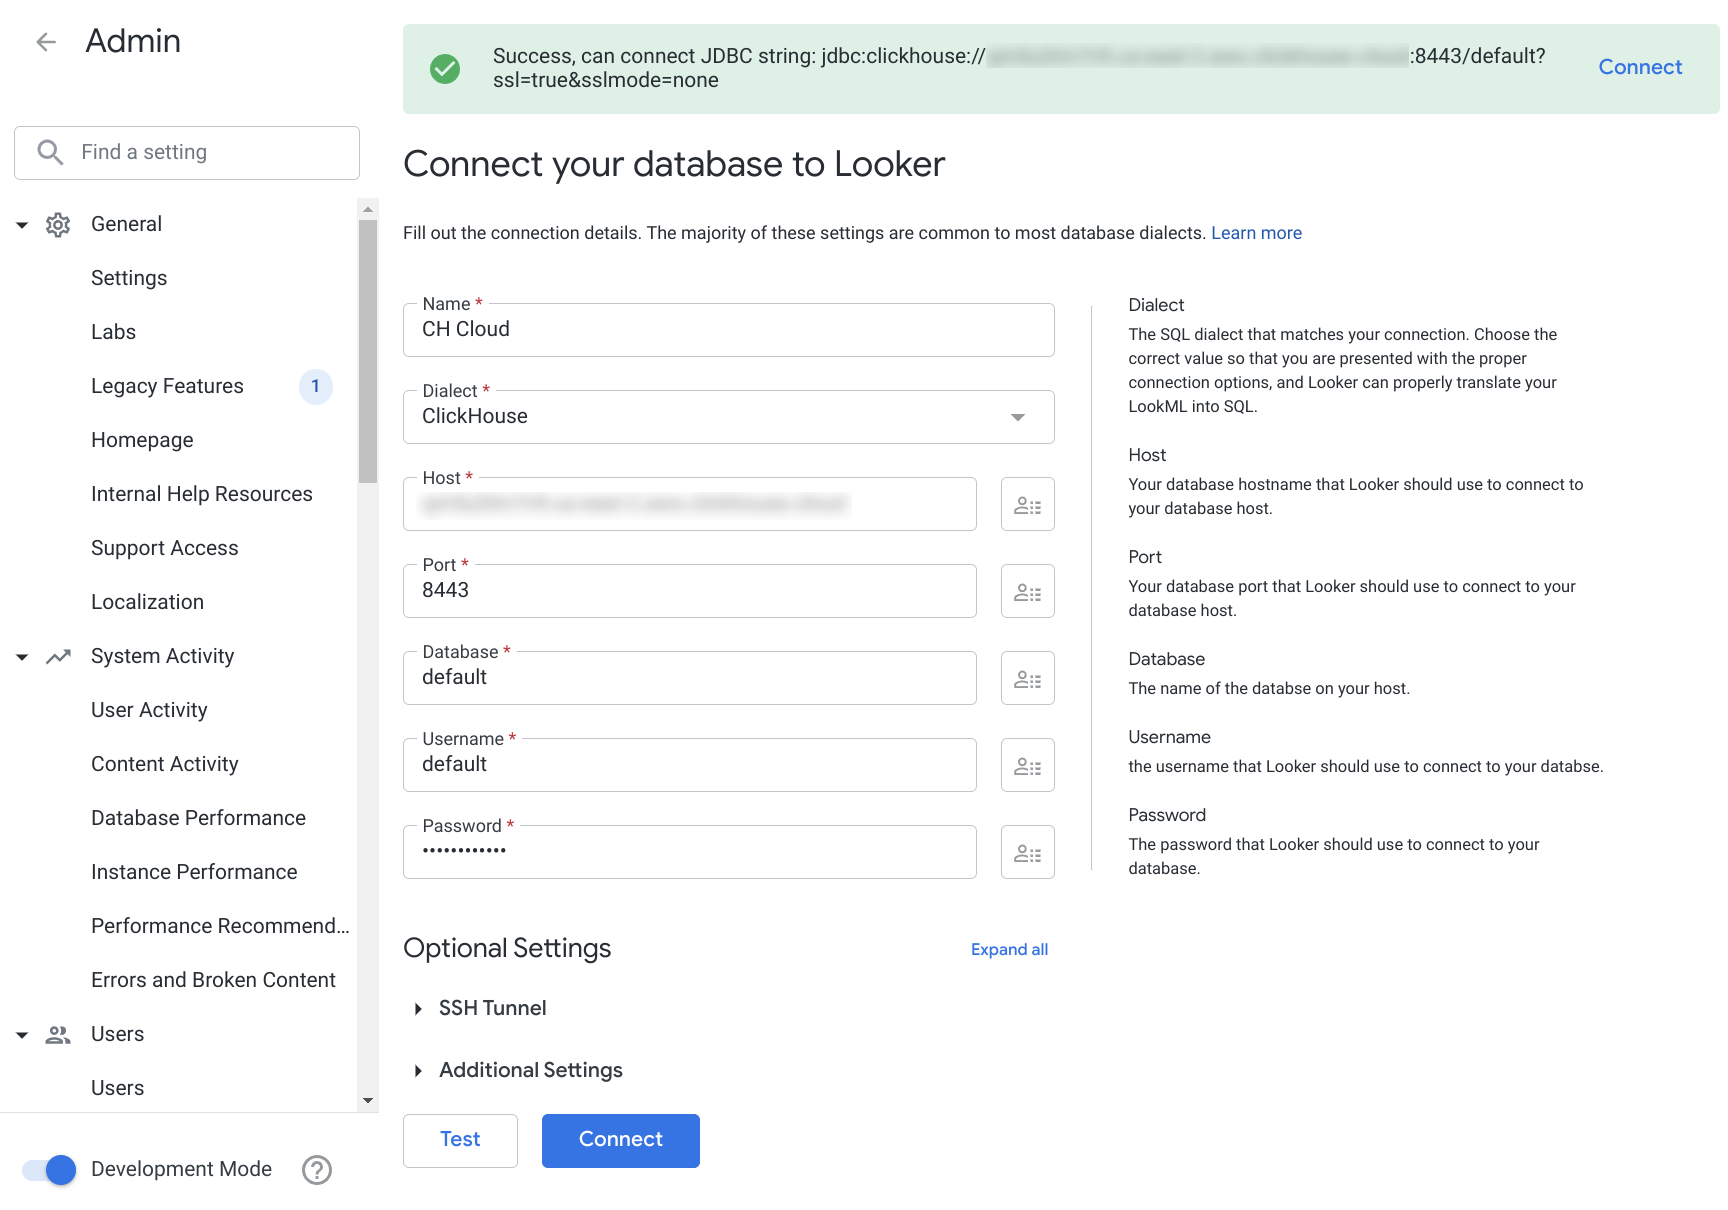
Admin -> Database -> Connections ページに移動し、右上の「Add Connection」ボタンをクリックします。
データソースの名前を指定し、dialect のドロップダウンから ClickHouse を選択します。フォームに認証情報を入力します。
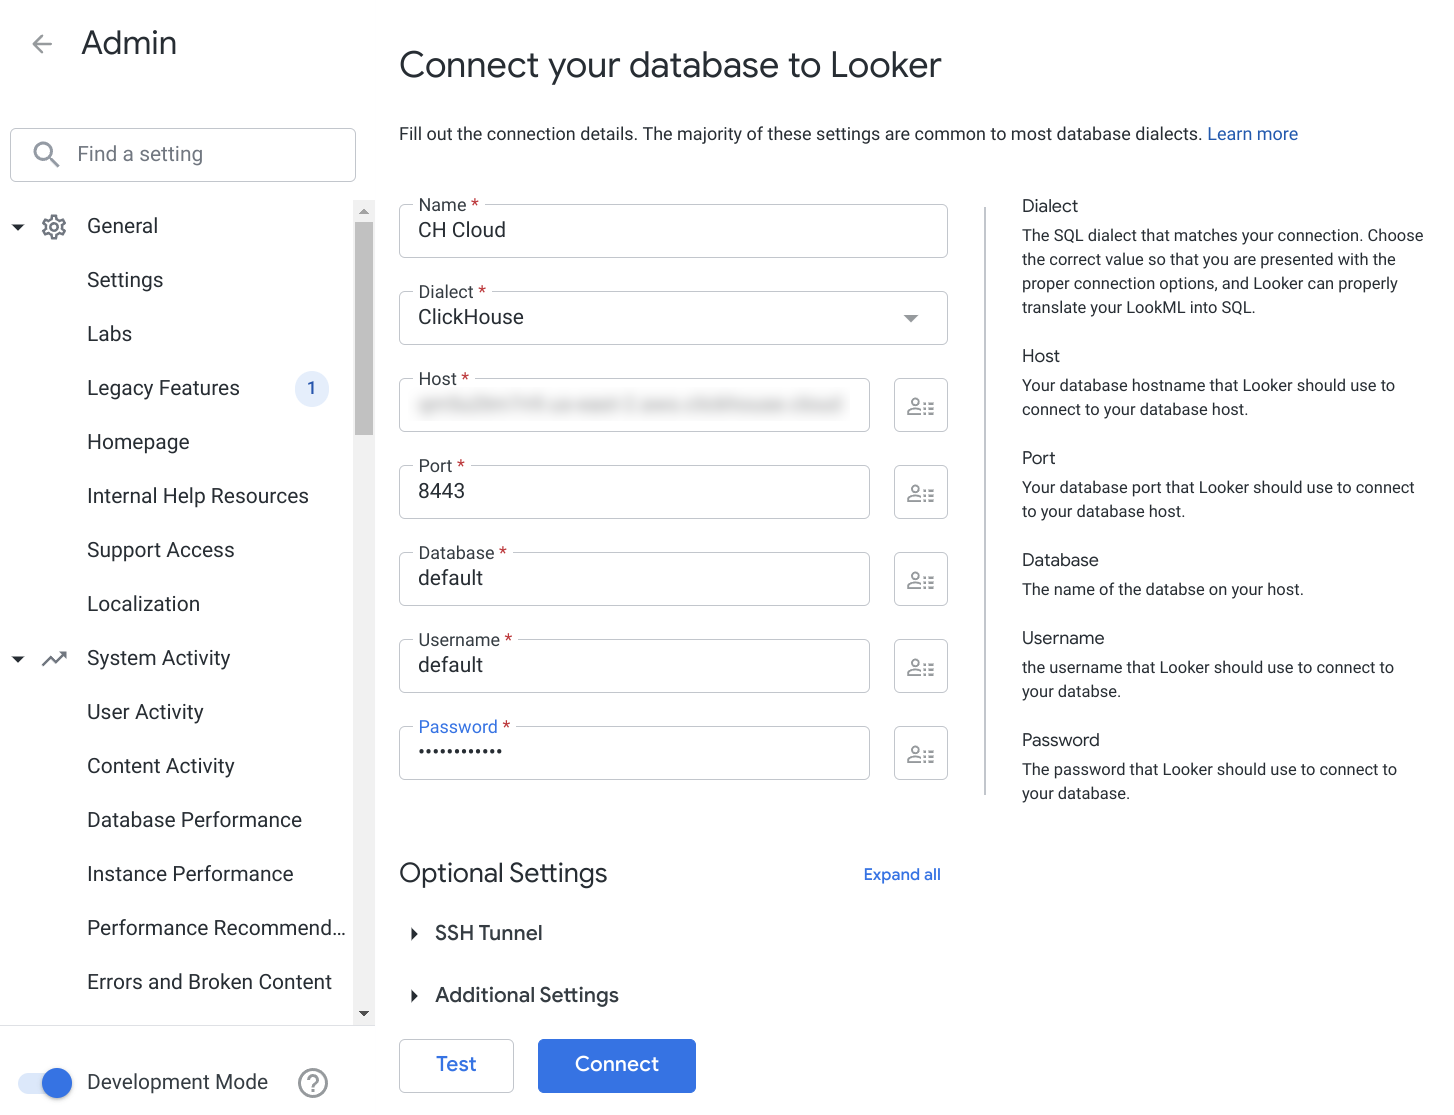
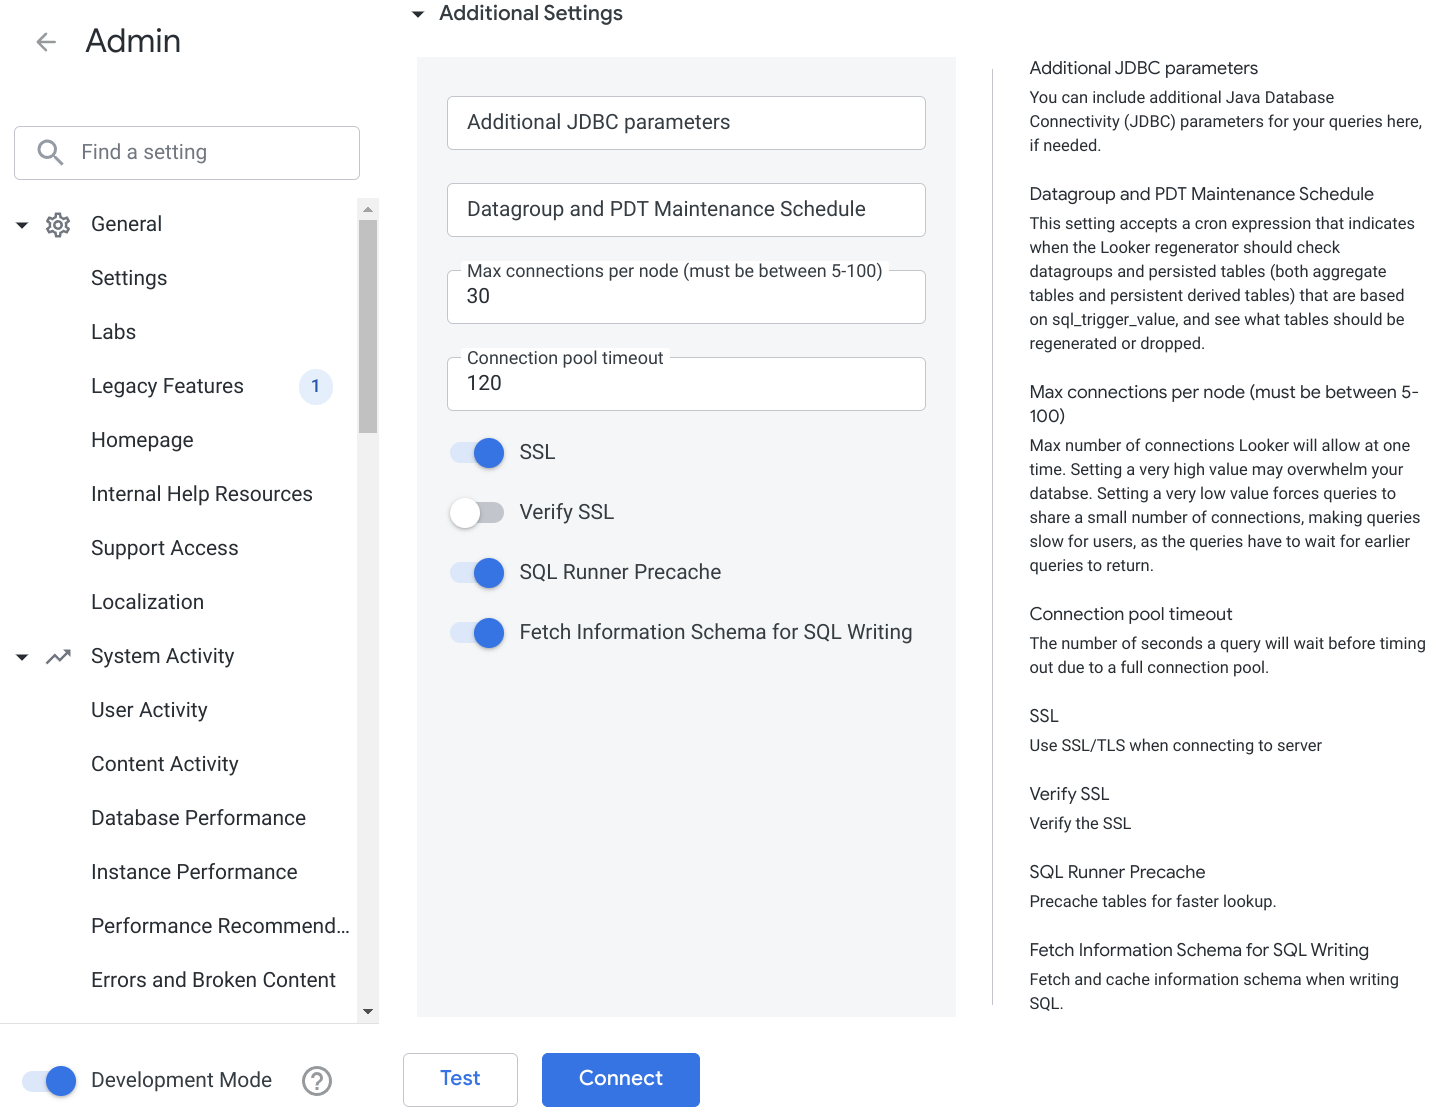
ClickHouse Cloud を使用している場合、またはデプロイメントで SSL が必要な構成になっている場合は、追加設定で SSL が有効になっていることを確認します。
最初に接続テストを行い、完了したら新しい ClickHouse データソースに接続します。
これで、Looker プロジェクトに ClickHouse データソースを関連付けられるようになります。
3. 既知の制限事項
- 次のデータ型は、デフォルトで文字列として扱われます:
- Array - JDBC ドライバーの制限により、シリアル化が期待どおりに動作しません
- Decimal* - モデル内で number 型に変更できます
- LowCardinality(...) - モデル内で適切な型に変更できます
- Enum8, Enum16
- UUID
- Tuple
- Map
- JSON
- Nested
- FixedString
- Geo 型
- MultiPolygon
- Polygon
- Point
- Ring
- Symmetric aggregate 機能 はサポートされていません
- Full outer join はドライバーでまだ実装されていません
