このガイドでは、Hashboard を ClickHouse インスタンスに接続する手順を説明します。この情報は、Hashboard の ClickHouse 連携ドキュメント にも掲載されています。
前提条件
- 自社のインフラストラクチャまたは ClickHouse Cloud でホストされている ClickHouse データベース。
- Hashboard のアカウント とプロジェクト。
Hashboard を ClickHouse に接続する手順
1
接続情報を確認する
ClickHouse にネイティブ TCP で接続するには、次の情報が必要です。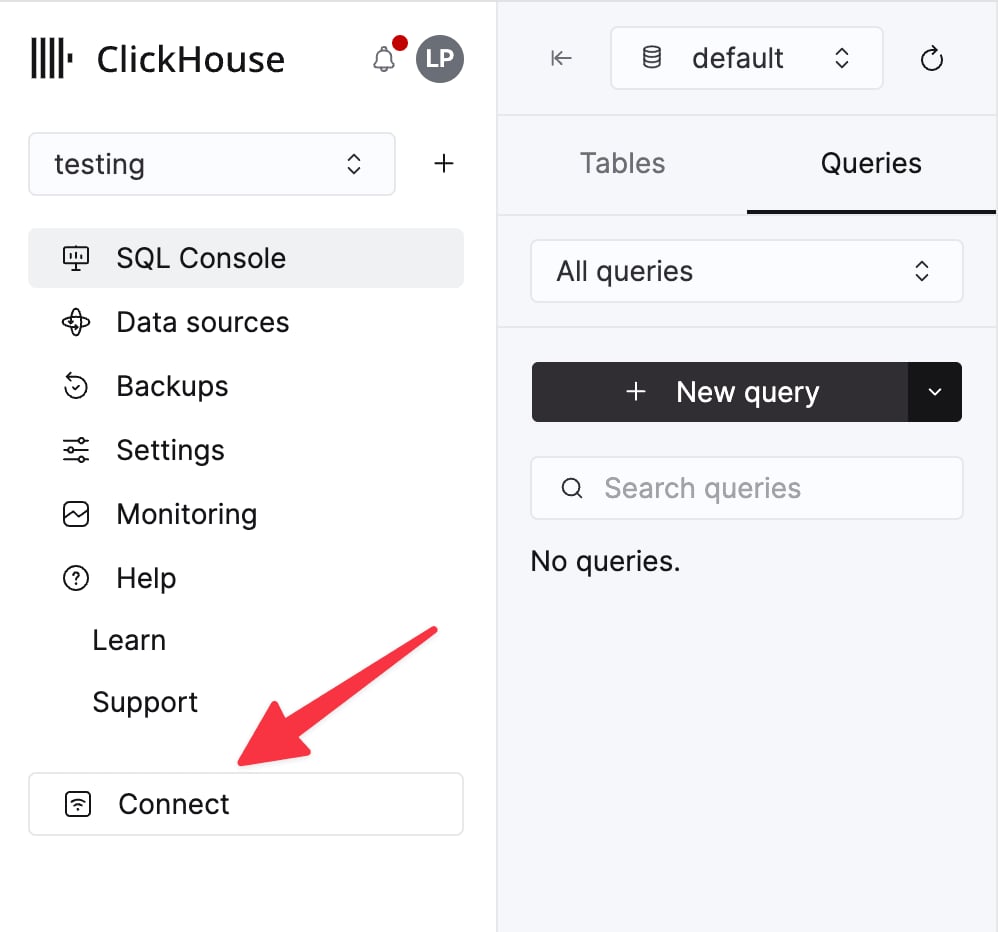
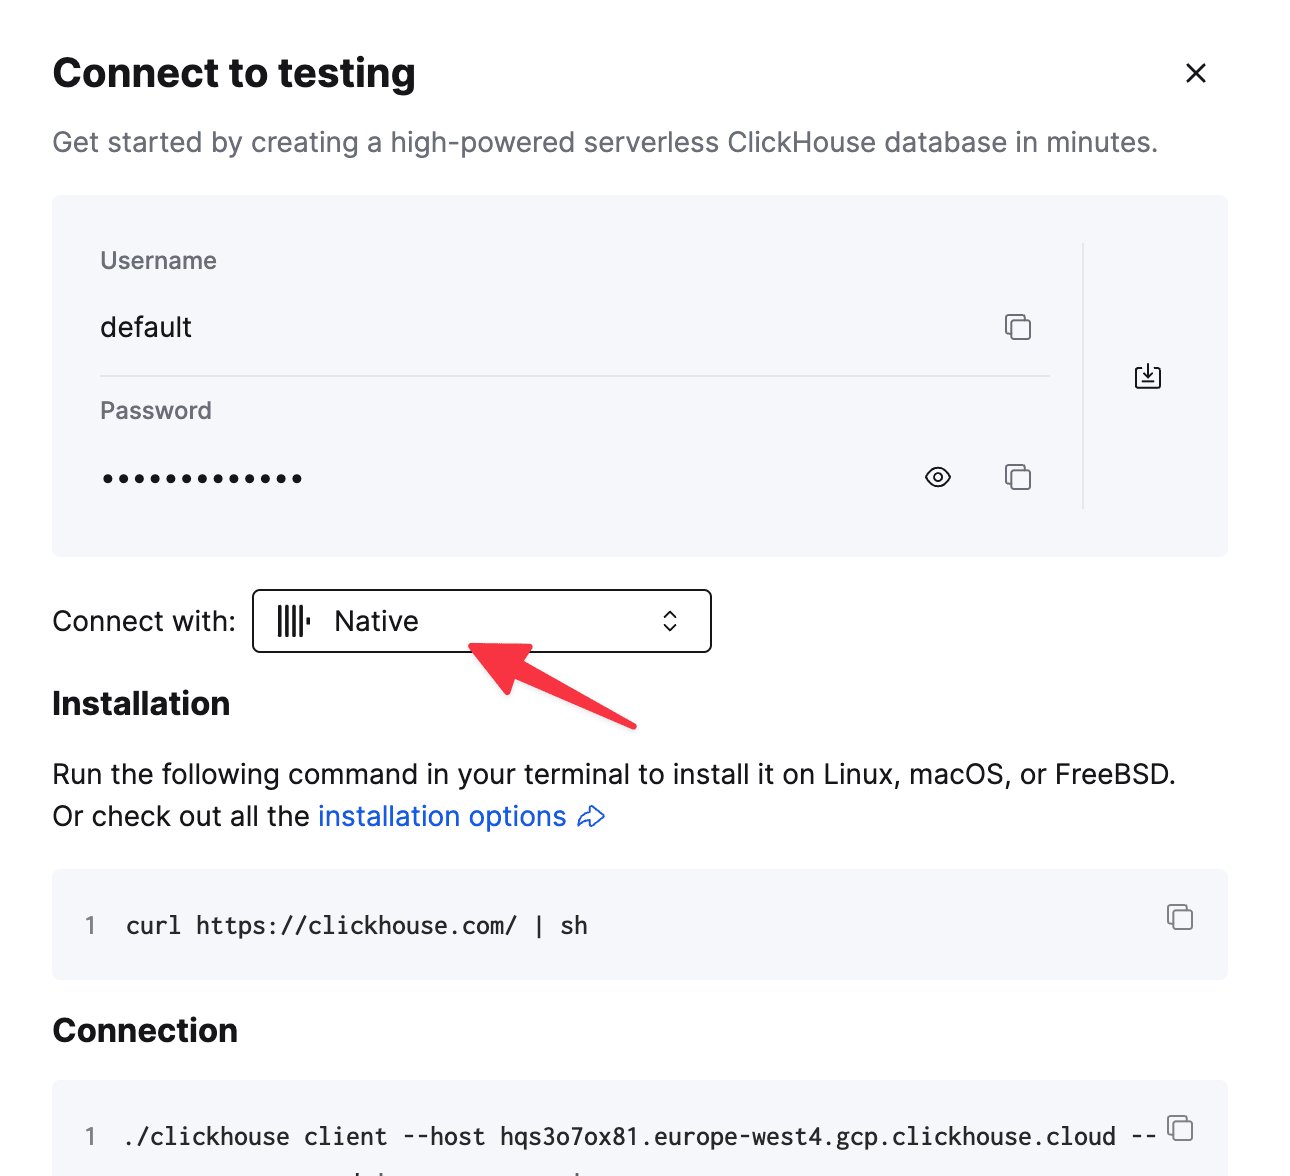
ClickHouse Cloud サービスの接続情報は、ClickHouse Cloud コンソールで確認できます。
接続先のサービスを選択し、Connect をクリックします。
clickhouse-client コマンドの例として表示されます。2
Hashboard で新しいデータベース接続を追加する
- Hashboard プロジェクトにアクセスします。
- サイドナビゲーションバーの歯車アイコンをクリックして、Settings ページを開きます。
+ New Database Connectionをクリックします。- モーダルで「ClickHouse」を選択します。
- 先ほど収集した情報を使って、Connection Name、Host、Port、Username、Password、Database の各フィールドに入力します。
- 「Test」をクリックして、接続が正しく設定されていることを確認します。
- 「Add」をクリックします