Note: The policy shown in the video is permissive and intended for quick start only. See least‑privilege IAM guidance below.
Prerequisites
We assume:- you’re familiar with ClickHouse Connector Sink,
- you’re familiar with Amazon MSK and MSK Connectors. We recommend the Amazon MSK Getting Started guide and MSK Connect guide.
The official Kafka connector from ClickHouse with Amazon MSK
Gather your connection details
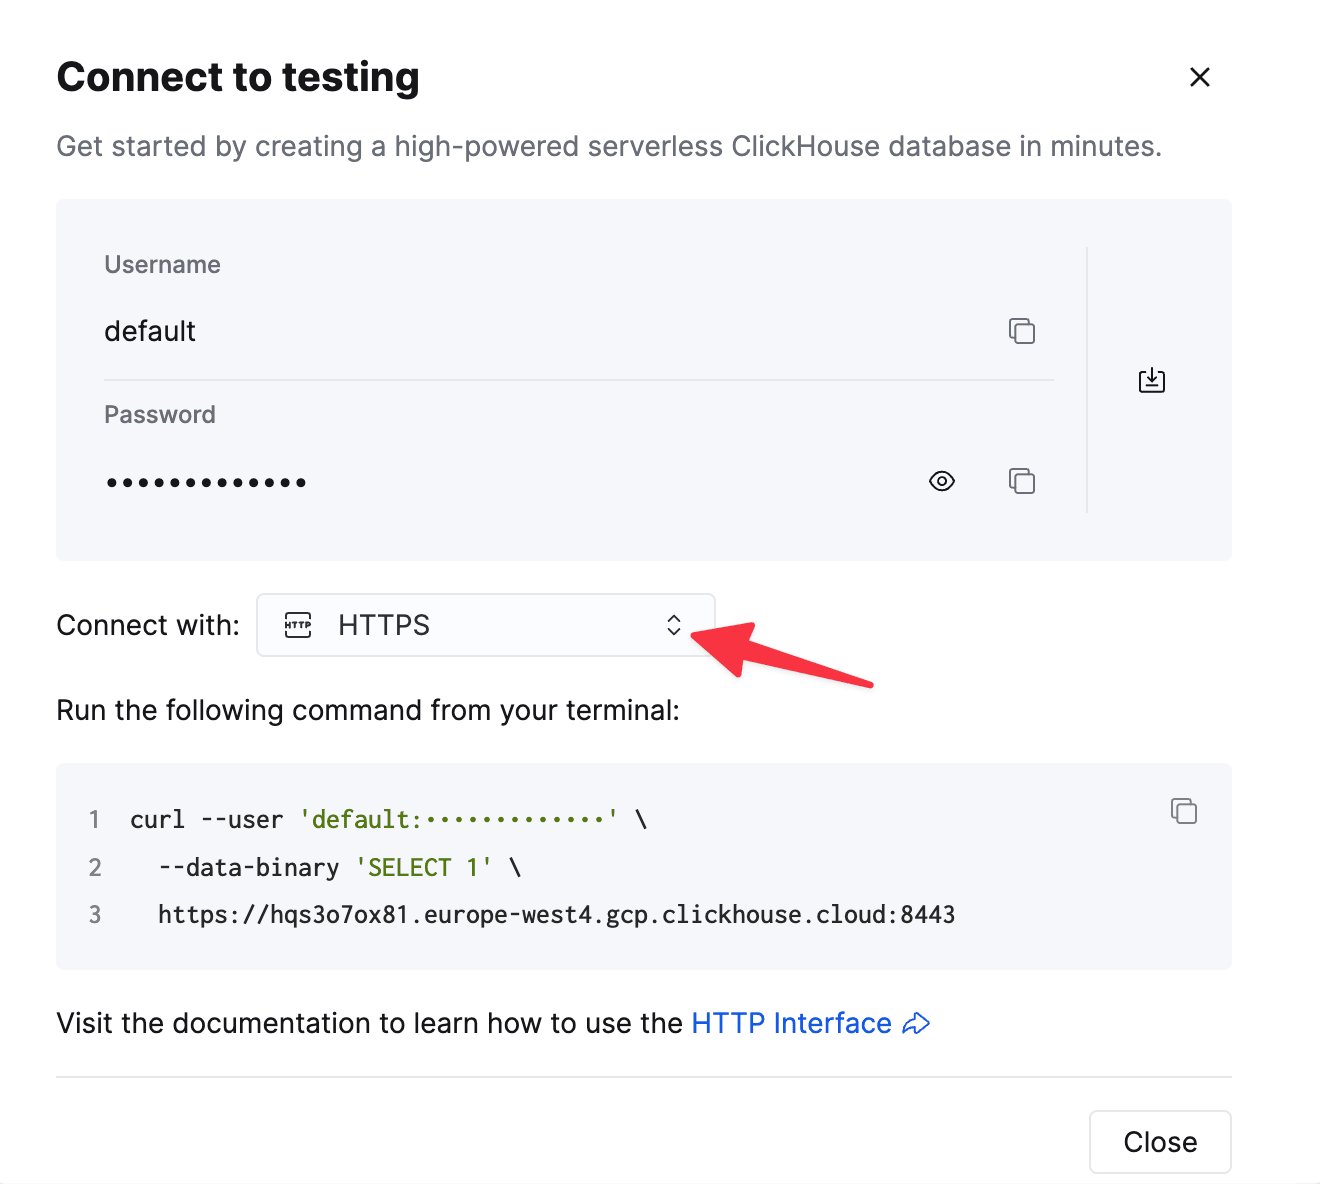
To connect to ClickHouse with HTTP(S) you need this information:
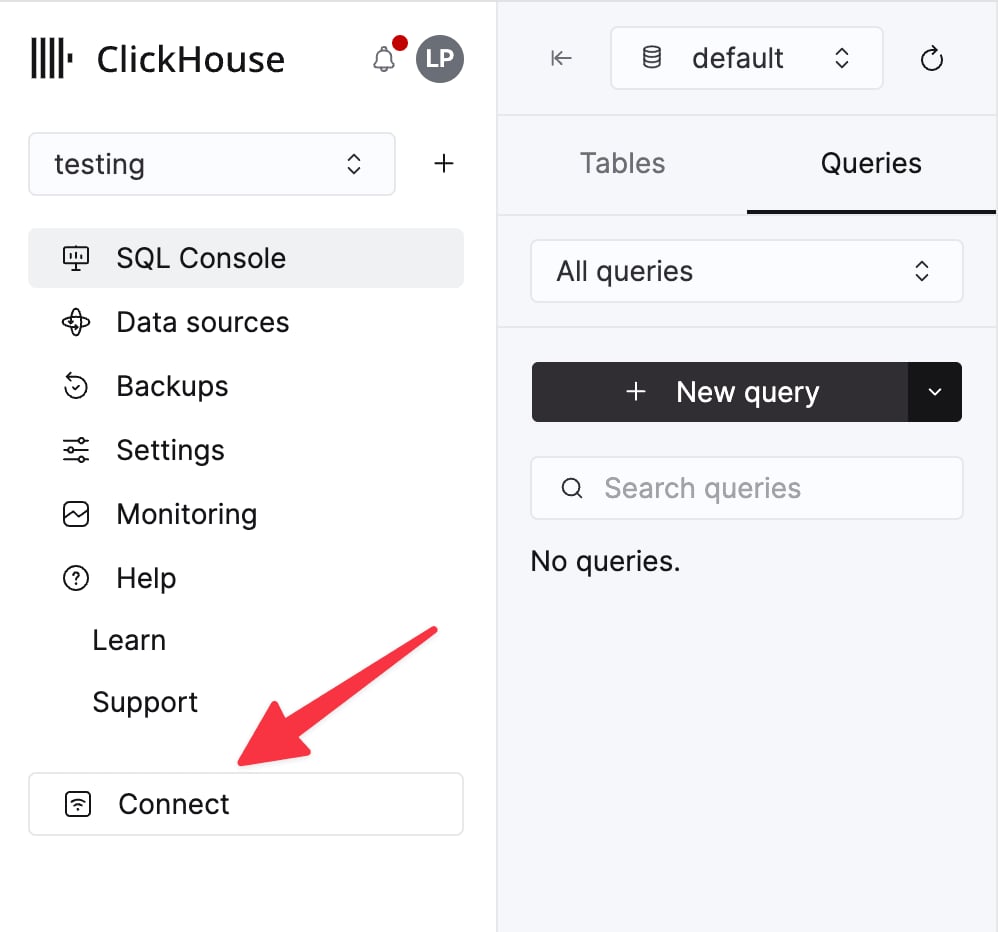
The details for your ClickHouse Cloud service are available in the ClickHouse Cloud console.
Select a service and click Connect:
curl command.
Steps
- Make sure you’re familiar with the ClickHouse Connector Sink
- Create an MSK instance.
- Create and assign IAM role.
- Download a
jarfile from ClickHouse Connect Sink Release page. - Install the downloaded
jarfile on Custom plugin page of Amazon MSK console. - If Connector communicates with a public ClickHouse instance, enable internet access.
- Provide a topic name, ClickHouse instance hostname, and password in config.
Recommended IAM permissions (least privilege)
Use the smallest set of permissions required for your setup. Start with the baseline below and add optional services only if you use them.- Use the Glue block only if you use AWS Glue Schema Registry.
- Use the Secrets Manager block only if you fetch credentials/truststores from Secrets Manager. Scope the ARN.
- Use the S3 block only if you load artifacts (e.g., truststore) from S3. Scope to bucket/prefix.
Performance tuning
One way of increasing performance is to adjust the batch size and the number of records that are fetched from Kafka by adding the following to the worker configuration:Notes on networking for MSK Connect
In order for MSK Connect to connect to ClickHouse, we recommend your MSK cluster to be in a private subnet with a Private NAT connected for internet access. Instructions on how to set this up are provided below. Note that public subnets are supported but not recommended due to the need to constantly assign an Elastic IP address to your ENI, AWS provides more details here- Create a Private Subnet: Create a new subnet within your VPC, designating it as a private subnet. This subnet shouldn’t have direct access to the internet.
- Create a NAT Gateway: Create a NAT gateway in a public subnet of your VPC. The NAT gateway enables instances in your private subnet to connect to the internet or other AWS services, but prevents the internet from initiating a connection with those instances.
- Update the Route Table: Add a route that directs internet-bound traffic to the NAT gateway
- Ensure Security Groups and Network ACLs Configuration: Configure your security groups and network ACLs (Access Control Lists) to allow relevant traffic.
- From MSK Connect worker ENIs to MSK brokers on TLS port (commonly 9094).
- From MSK Connect worker ENIs to ClickHouse endpoint: 9440 (native TLS) or 8443 (HTTPS).
- Allow inbound on broker SG from the MSK Connect worker SG.
- For self-hosted ClickHouse, open the port configured in your server (default 8123 for HTTP).
- Attach Security Groups to MSK: Ensure that these security groups are attached to your MSK cluster and MSK Connect workers.
- Connectivity to ClickHouse Cloud:
- Public endpoint + IP allowlist: requires NAT egress from private subnets.
- Private connectivity where available (e.g., VPC peering/PrivateLink/VPN). Ensure VPC DNS hostnames/resolution are enabled and DNS can resolve the private endpoint.
- Validate connectivity (quick checklist):
- From the connector environment, resolve MSK bootstrap DNS and connect via TLS to broker port.
- Establish TLS connection to ClickHouse on port 9440 (or 8443 for HTTPS).
- If using AWS services (Glue/Secrets Manager), allow egress to those endpoints.